

 Rapid Ext JS


Creating Progressive Web Applications using Sencha Ext JS
April 26, 2017
186 Views
Progressive Web Applications (PWAs) allow developers to create great user experiences on the web. They deliver the best of both web and mobile app experiences. Web apps can be found easily on the internet and every user is guaranteed access to the same and latest version of the application. Plus, mobile app capabilities, such as offline support and optimizing access to the underlying network using service workers, take the user experience to a whole new level.
We’ve made progressive web app development very easy with Ext JS. Developers can create a rich user experience and increase user engagement.
In this article, we’ll show you:
- What you need to build a PWA using Ext JS
- The steps involved in creating your PWA
- Advanced caching strategies for optimal user experience
Getting Started
To create the PWA in this article, you must have the following products installed:
- Ext JS 6.x
- Cmd 6.5 EA
- Google Chrome Browser 56+
- Android 5.0+
- Web server (with HTTPS support)
Steps to Create Your PWA
Sencha Cmd allows us to set configurations in app.json. With certain configurations, Cmd can generate the required application manifest and also the service worker for caching. We’ll walk through the steps to make those changes.
Generating Your Ext JS App
Run the following command to generate a starter project using Modern toolkit:
sencha -sdk /path/to/extjs/sdk generate app PWA sample-pwa -modern
With the app generated, let’s modify it to make it a PWA.
Modifying Your App for App Shell Caching
Edit the app.json file and add the following PWA config:
"progressive": {
      "manifest": {
         "name": "Progressive App",
         "short_name": "PWA",
         "icons": [
            {
               "src": "resources/pwa96.png",
               "sizes": "96x96"
            },
            {
               "src": "resources/pwa192.png",
               "sizes": "192x192"
            },
            {
               "src": "resources/pwa256.png",
               "sizes": "256x256"
            }
         ],
         "theme_color": "#054059",
         "background_color": "#054059",
         "display": "standalone",
         "orientation": "portrait",
         "start_url": "/index.html"
      }
   	},
Now we’ve configured the manifest detail for the application. To learn more about each of the properties listed above, read the W3C Web App Manifest.
Next, we’ll enable loader caching, so the scripts and style files (and images) are cached:
"loader": {
         "cache": true,
         "cacheParam": "_dc"
     },

"production": {
        ...,
        "loader": {
            "cache": true
        },
        ...
    	},
Now, save the changes and build the application by running the following command:
sencha app build
Next, we’ll deploy the build/production/PWA folder to our web server that serves the application using HTTPS.
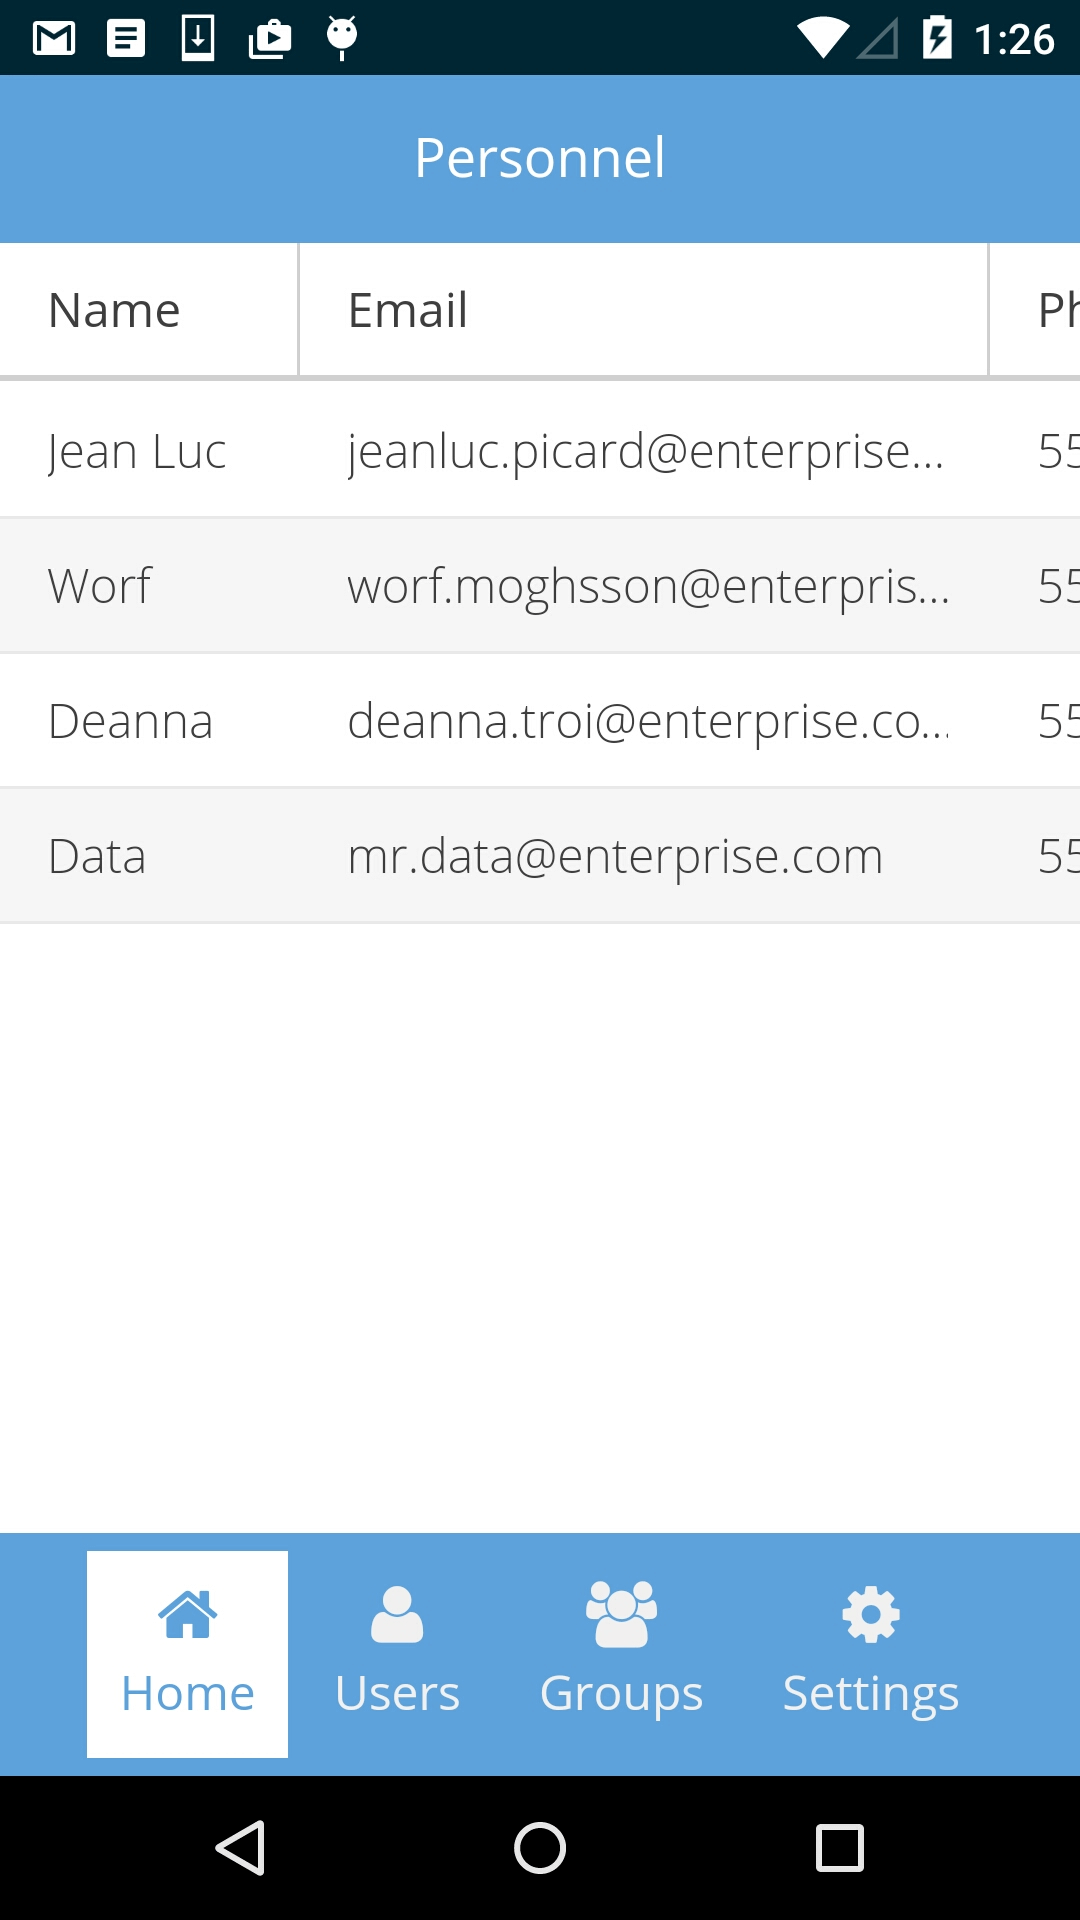
Go to the Android mobile device and open the application URL in Chrome browser. You’ll see the following output:
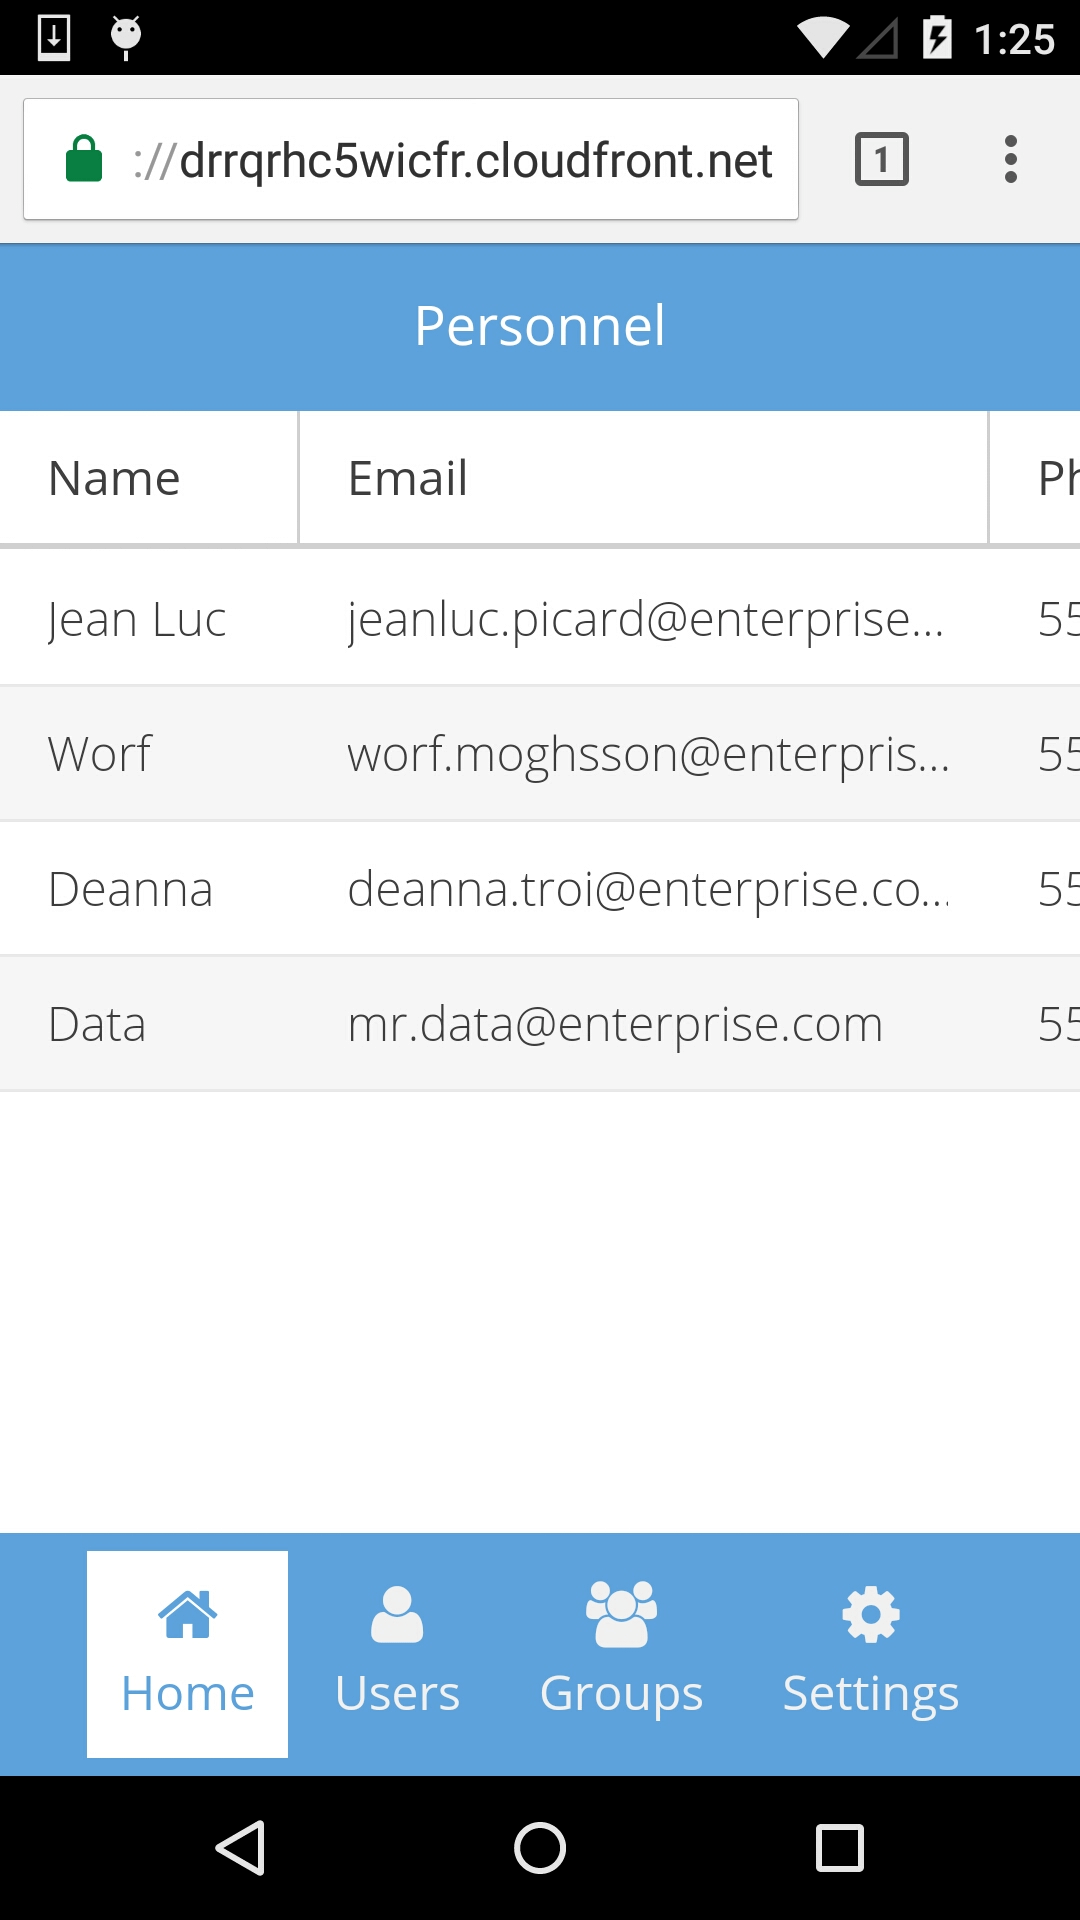
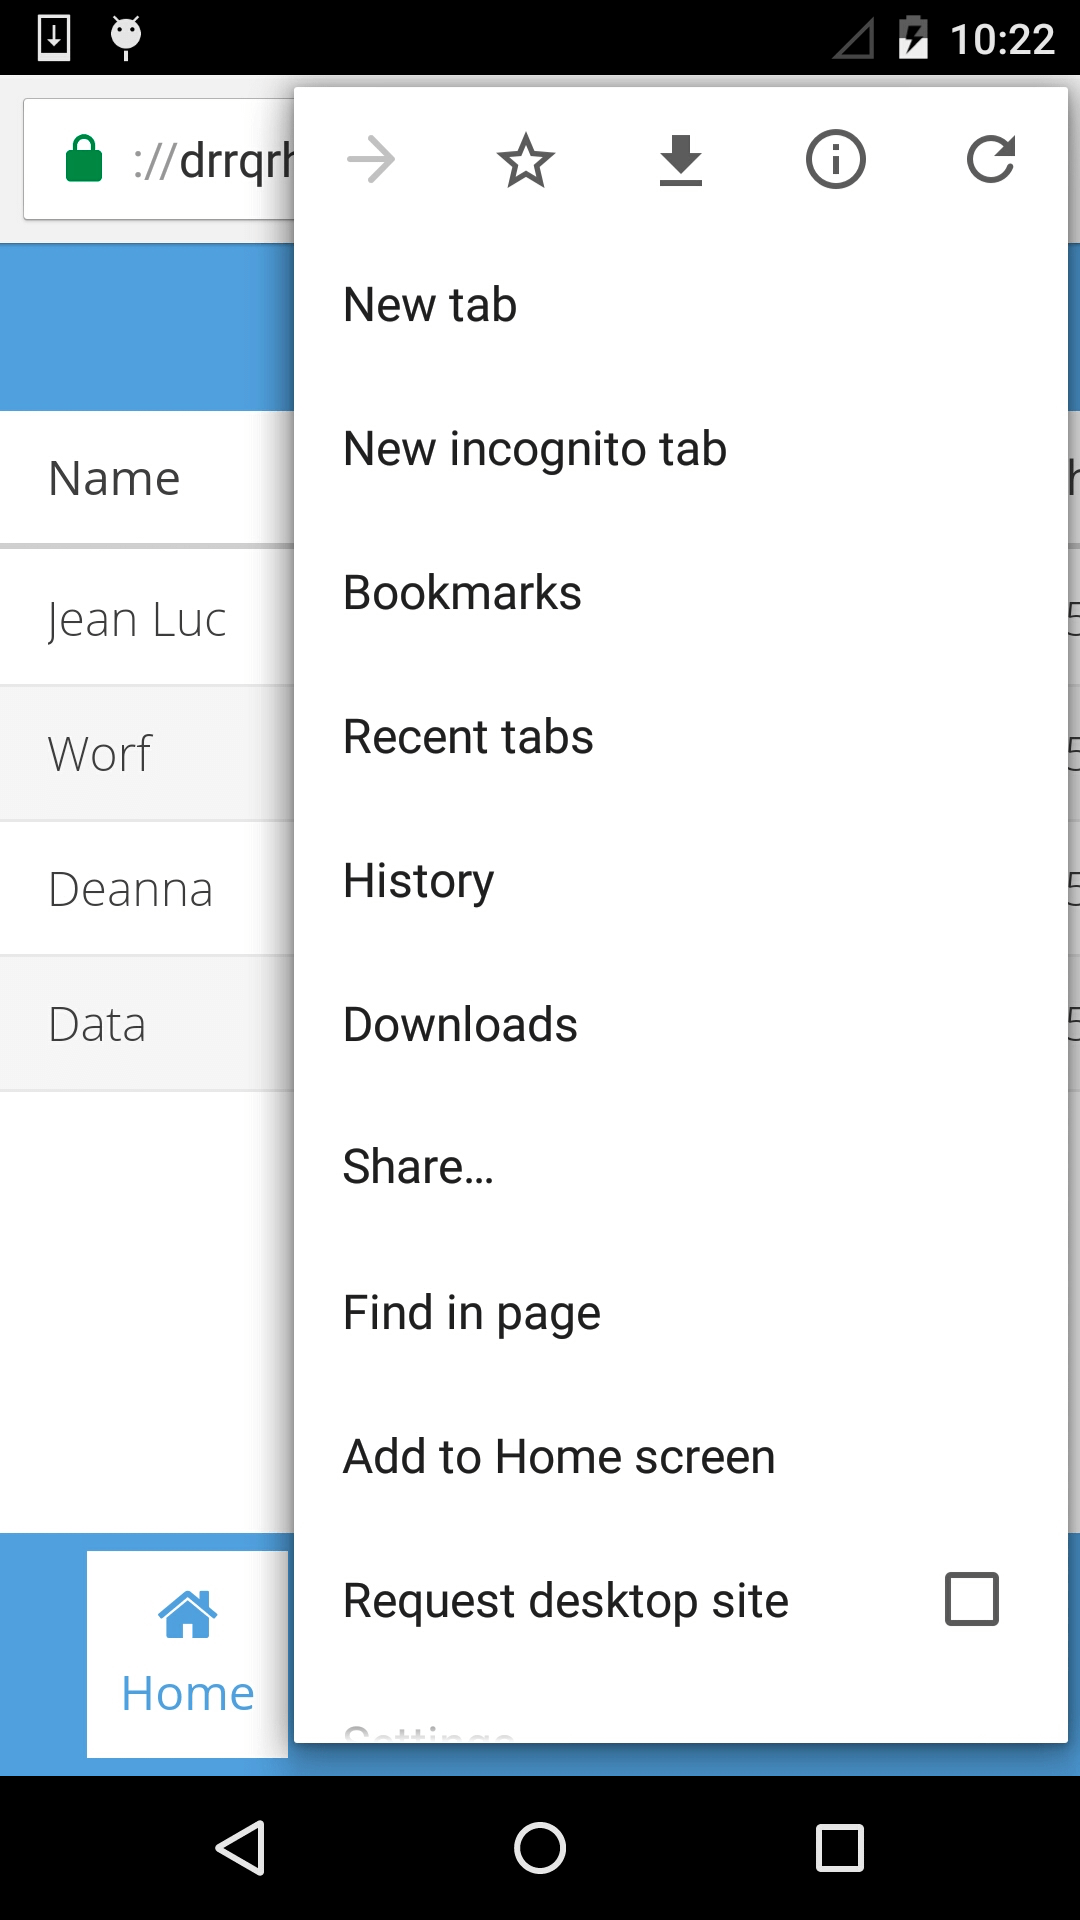
Click on the browser menu and tap on Add to Home screen to add the application to the Home screen:
Based on the visit frequency heuristics, Chrome shows the Web App Install Banner automatically. That lets us add the application to the Home screen. However, we used the manual process here to get through that intelligence.
This will prompt us for the application name:
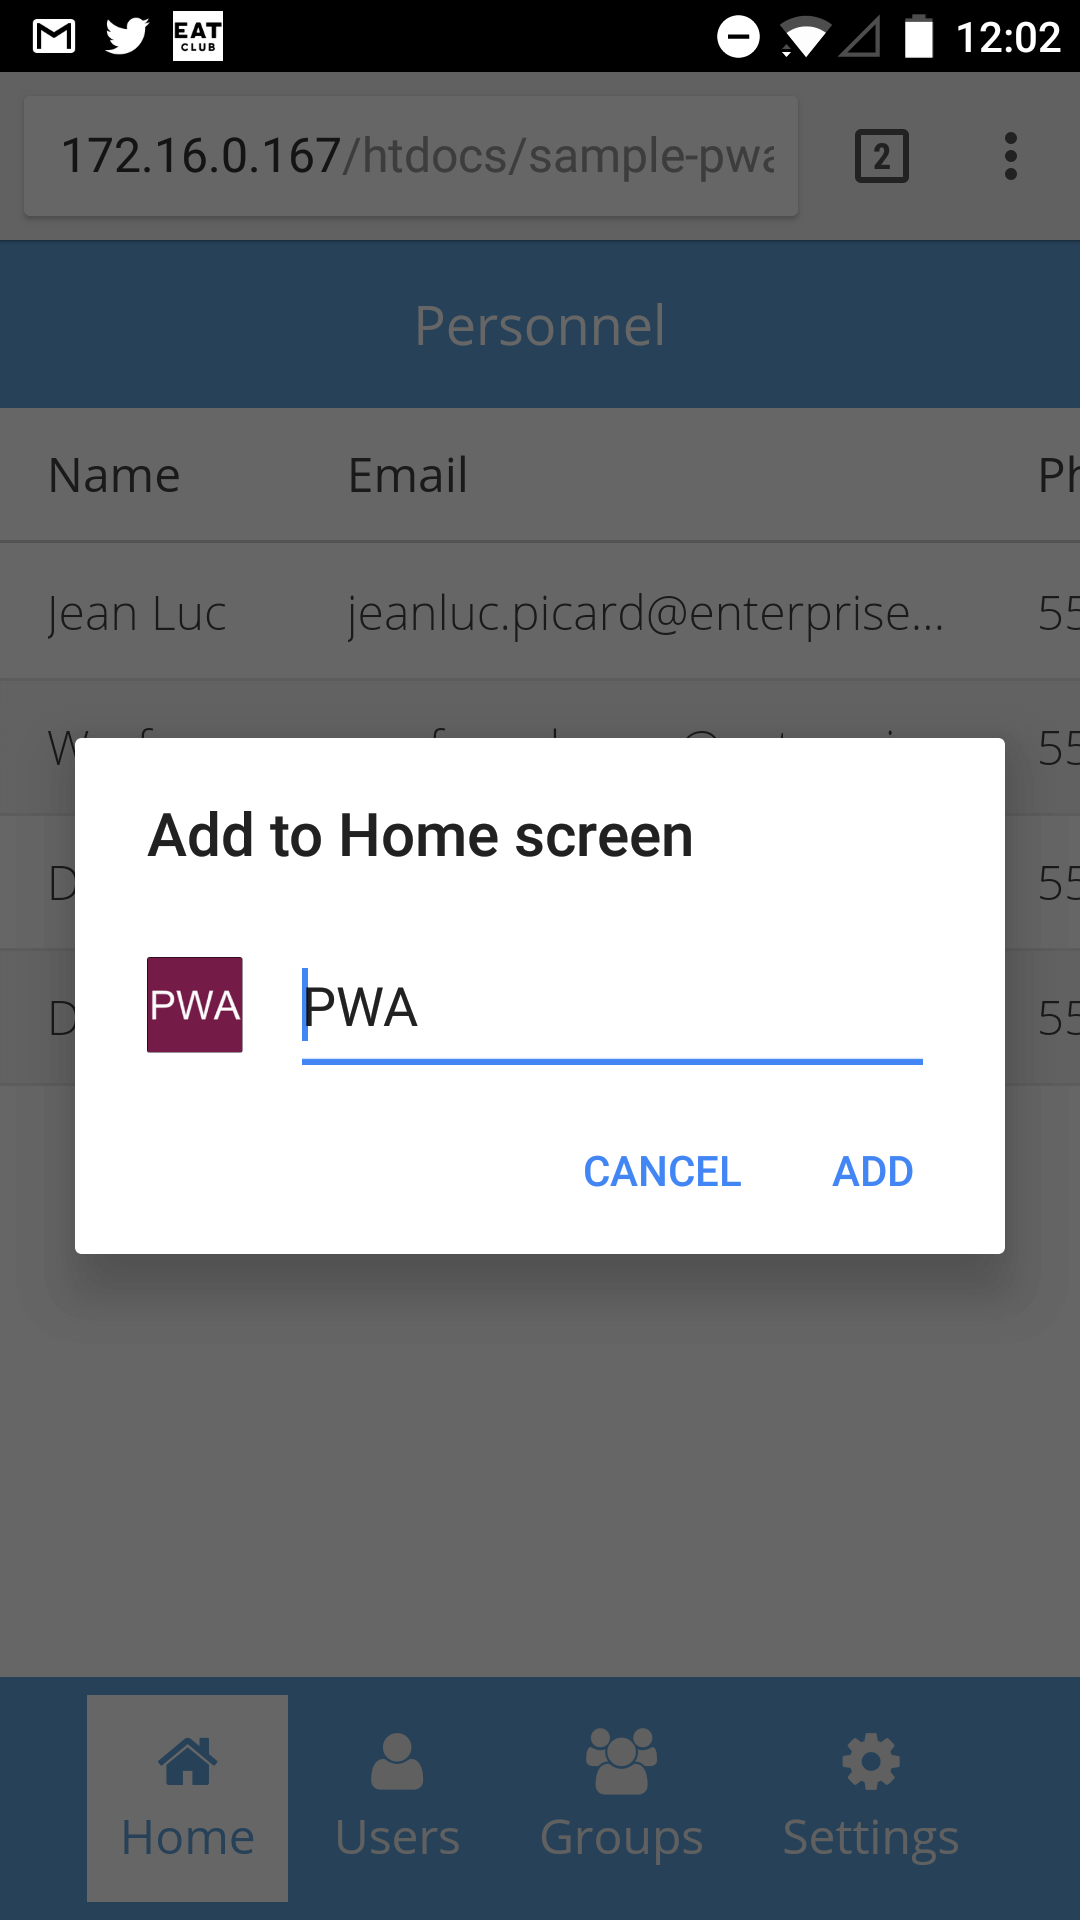
Notice that the browser has picked up the application icon and name from the manifest configuration that we added to app.json.
Tap on the ADD button and the application is added to the Home screen:
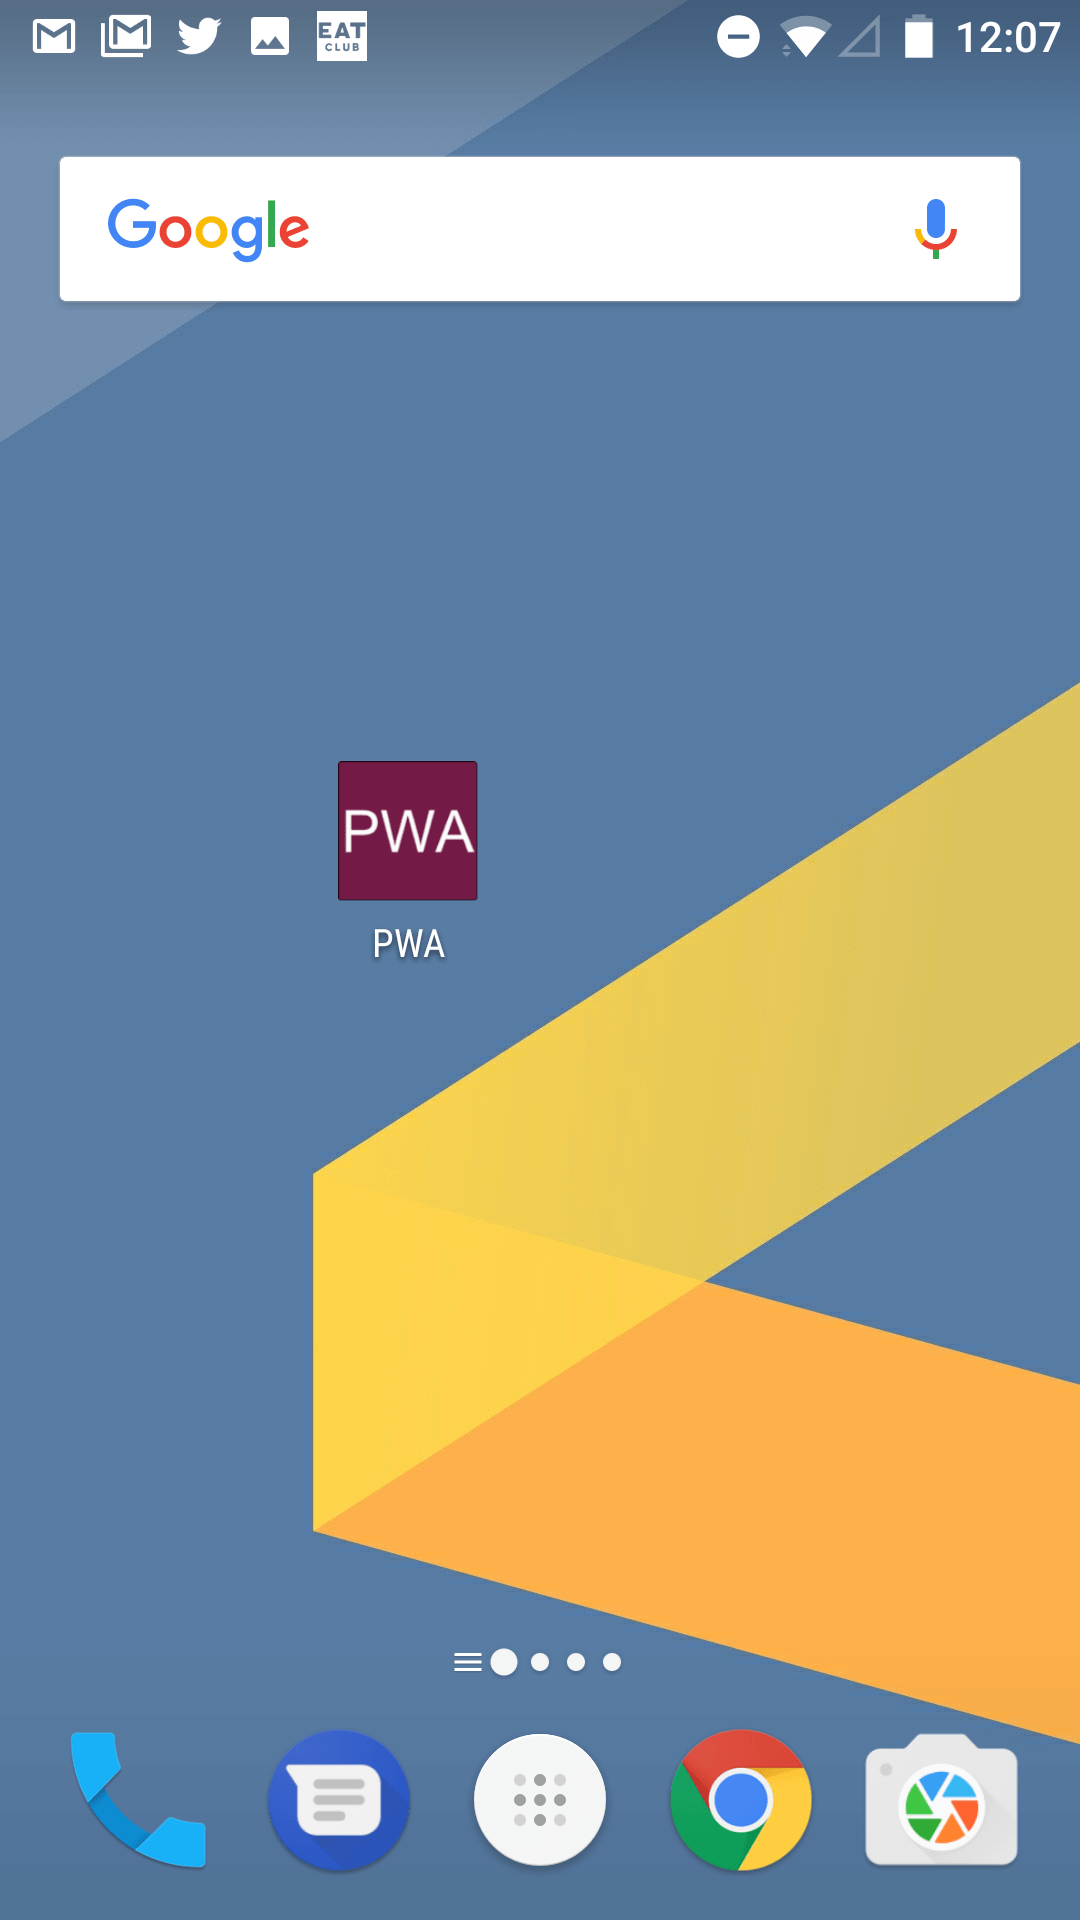
We can tap on the icon to launch the application directly, without accessing it through the browser, just like a native application.
Now that the application shell is being cached, let’s see how we can cache the Ajax response data for a complete offline experience.
Caching the Ajax Response
The application currently loads in-memory data into the grid. Let’s modify the store definition, PWA.store.Personnel, so it loads the data from a remote JSON file:
Ext.define('PWA.store.Personnel', {
    extend: 'Ext.data.Store',

    alias: 'store.personnel',

    fields: [
        'name', 'email', 'phone'
    ],

    autoLoad: true,

    proxy: {
        // @sw-cache
        url: 'resources/personnel.json',
        type: 'ajax',
        reader: {
            type: 'json',
            rootProperty: 'items'
        }
    }
});
Notice that we’ve added a Service Worker caching related configuration using @sw-cache. This tells Cmd that we need caching in our application. Sencha Cmd will ensure the required Service Worker code is added at the time the application is built.
Finally, let’s create the resources/personnel.json file and save the following JSON data into it:
{
"items":[{
  "name": "Jean Luc",
  "email": "jeanluc.picard@enterprise.com",
  "phone": "555-111-1111"
}, {
  "name": "Worf",
  "email": "worf.moghsson@enterprise.com",
  "phone": "555-222-2222"
}, {
  "name": "Deanna",
  "email": "deanna.troi@enterprise.com",
  "phone": "555-333-3333"
}, {
  "name": "Data",
  "email": "mr.data@enterprise.com",
  "phone": "555-444-4444"
}]
}
Now, we can build, deploy, and test the application. First, it will load the data from resources/personnel.json file, cache it, and load it into the grid. Now, let’s put the phone in offline mode with no network connectivity and reload the application. It will load the application shell as well as data from the cache. The behavior is same whether we access the application using a browser or launch it from the Home screen.
Our application now has complete offline support, and it’s a Progressive Web Application!
Advanced Caching Strategies
In the previous section, we looked at the basic caching configuration using @sw-cache. However, in enterprise applications, we’ll need more advanced configurations, so we can offer the best experience to our users. For example, imagine an Employee Directory application that loads employee images. Depending on the organization size, there may be lots of images that have to be downloaded and stored in the cache. This would be undesirable for our user experience, so we may want to only keep 100 images in the cache. To do that, we can pass an additional configuration to the Service Worker:
// @sw-cache{options: {cache:{name:”images”, maxEntries: 100}}}
Sencha Cmd docs include the different configurations that we can use to control cache behavior.
Next Steps
We talked briefly about PWAs and showed you how to use Sencha Cmd to convert an Ext JS application into a PWA.
You can try this in your apps. Download the application code from GitHub, and share your experience in the comments section below.
More Resources
Did you find the content helpful?
 0
0

 0
0

Latest Content

Ext JS 7.8 Has Arrived!
The Sencha team is pleased to announce the latest Ext JS version 7.8 release. Following…
May 13, 2024

React Apps Development Using ReExt with Ext JS Components
The world is moving fast towards online businesses. Businesses are established online via social media,…
May 1, 2024

How to Write Unit Tests with Sencha Test
In modern software development, unit testing has become an essential practice to ensure the quality…
April 19, 2024


