

 Rapid Ext JS


Sencha Test Tips for June 2017
July 13, 2017
184 Views

Our Sencha Test Tips provide you with a variety of best practices and tips and tricks, so you can get up to speed quickly on using Sencha Test. Our topics for June included:
- How to Execute Tests with TeamCity
- How to Test IFrames Using Sencha Test API
Sign up now to receive the Sencha Test Tips emails.
Tip #1: How to Execute Tests with TeamCity
Prerequisites:
- TeamCity is being used in your organization
- You are able to successfully run tests from the command line using the Sencha Test Command (STC) utilities provided with the Sencha Test installation
Steps:
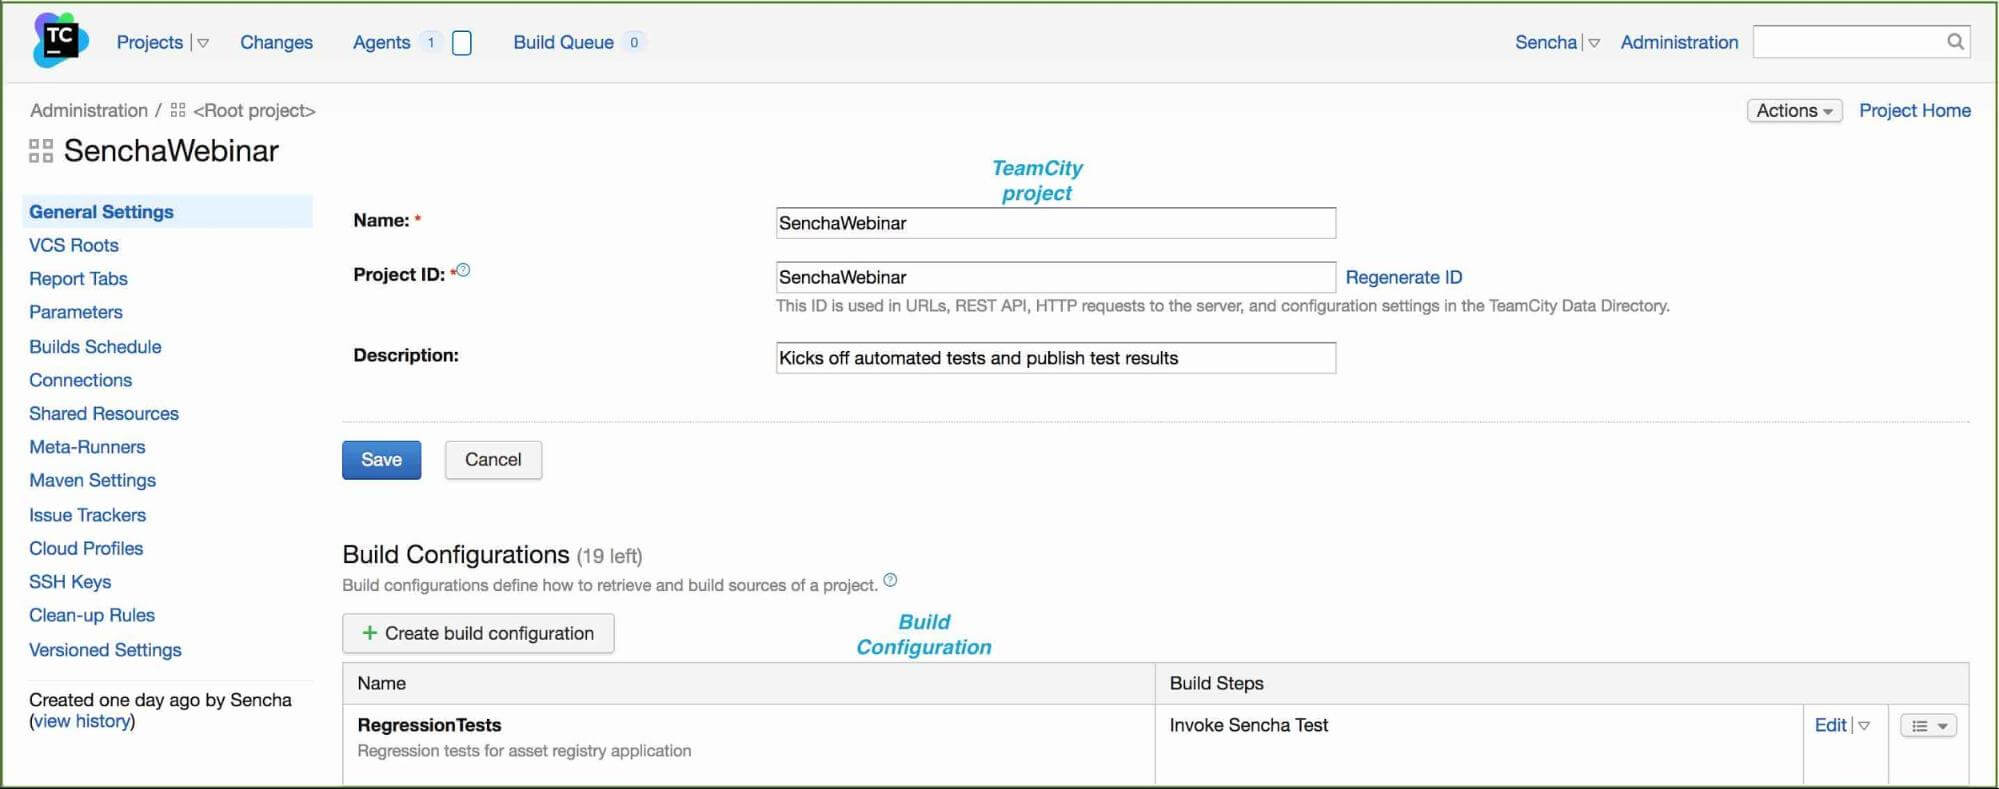
- Navigate to an existing TeamCity project or create a new project (SenchaWebinar)
- Create a new build configuration (RegressionTests)
- In the new configuration, create a new build step and select the command line option
- Select custom script option from the available selection
- Enter the stc run command that you have used to execute tests from the command line along with all the valid parameters
- Sample: stc run -o teamcity -p “nameofbrowserpool” -s /pathtoscenario/ -S http://localhost:1903 -K teamcitytest -n %env.BUILD_NUMBER%
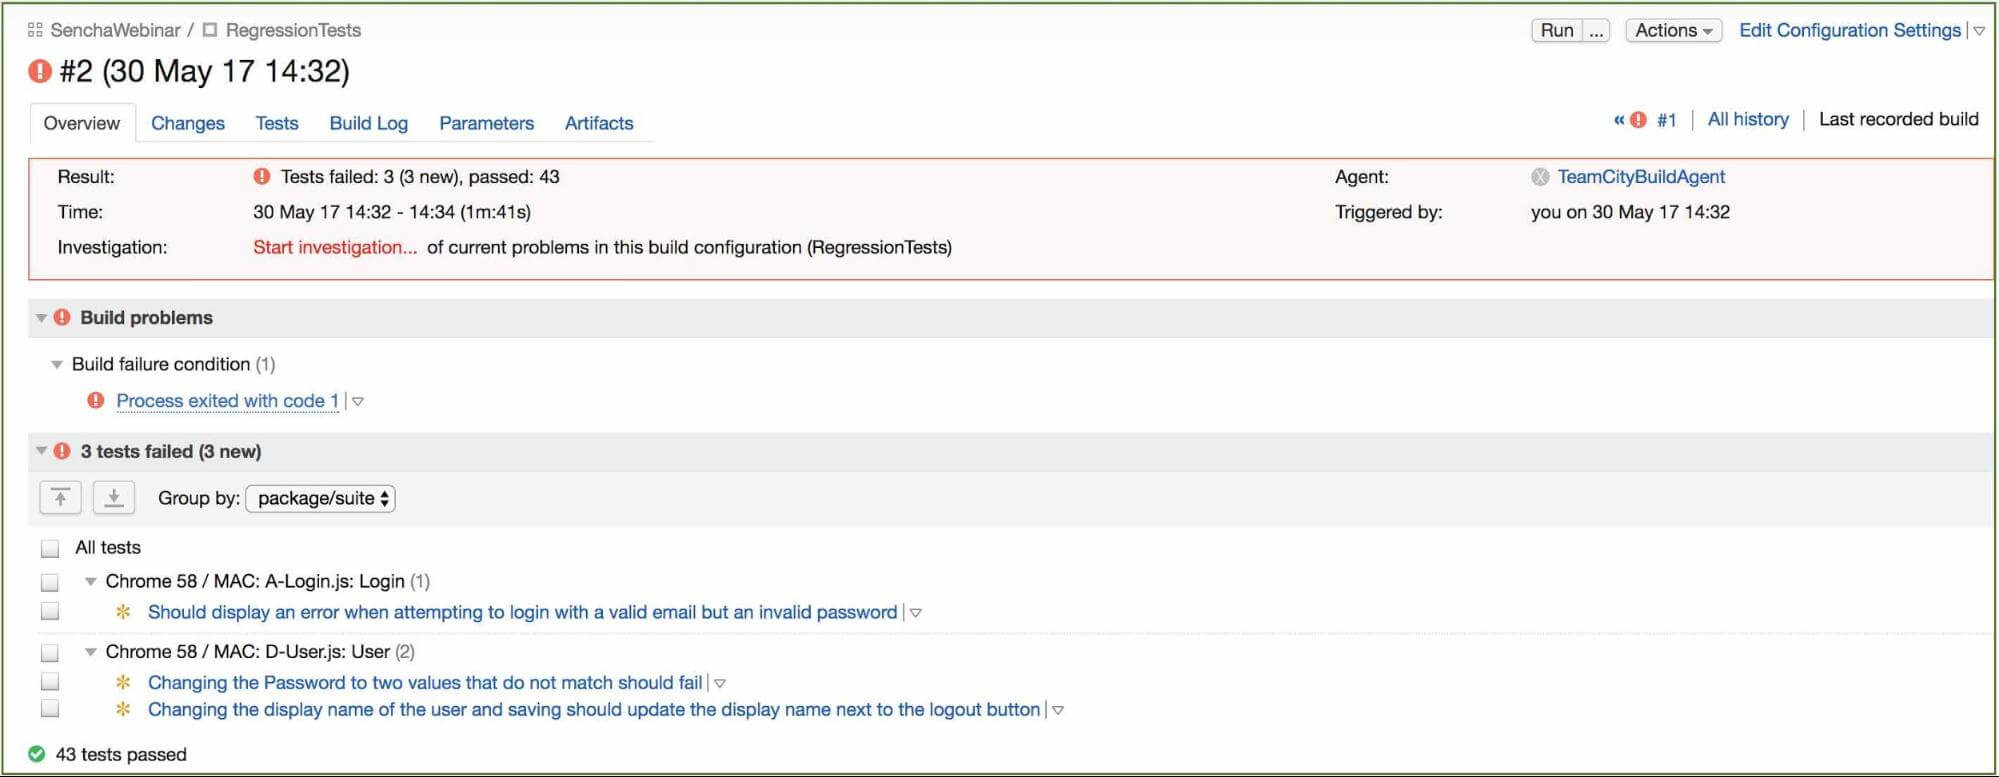
- -o – output will be generated in a format that TeamCity understands and results are published in TeamCity
- -p – you can use the embedded browser/Selenium combination (“Embedded”) or provide the name of the remote browser pool
- -s – provide the path of the scenario. If you are not running TeamCity on a local machine, make sure TeamCity downloads the scenario and pool information onto the build server and the correct location is being configured in the stc parameters
- -S – if you have an archive server set up, provide the archive server details (it is usually http://
:1903 - -K – a key that has been set up for the results folder
- -n – choose the build parameter value provided by TeamCity
- Sample: stc run -o teamcity -p “nameofbrowserpool” -s /pathtoscenario/ -S http://localhost:1903 -K teamcitytest -n %env.BUILD_NUMBER%
To learn more, watch the webinar recording, Best Practices for Implementing Continuous Web App Testing, which features TeamCity.
Tip #2: How to Test IFrames Using Sencha Test APIs
Sencha Test has a rich set of APIs that allows you to test Ext JS applications with minimal code. To test pages that have IFrames, you can use one of the APIs ‘ST.defaultContext.driver’ and leverage the API methods of WebDriverIO that is integrated with Sencha Test.
This example shows how to use the WebDriverIO API and Sencha Test APIs to test IFrames.
Test Code
Go to this GitHub repo to get the test code, and follow these steps to add the new test as a separate Scenario and a Jasmine Suite in the existing workspace.
- Using Sencha Studio, create a new Scenario
- In the advanced section, provide a name for the Scenario and select WebDriver under “Test Type”
- Input the URL for the IFrame sample page
- Add a new Jasmine Test Suite within the new Scenario
- Name the Suite IFrameTest.js
- Copy and paste the code into the editor from the GitHub file that you just downloaded
Now that the test code has been added to the workspace, it’s time to execute the test.
In the Test Runner, click on the Scenario name, select the Chrome browser and select and run the IFrameTest.
Next Steps
Download Sencha Test 2.1.1
We recently released Sencha Test 2.1.1. Here’s how to download it and get more information.
- If you’re an existing Sencha Test customer, you can download it from the Support Portal
- Download a 30-day free trial of Sencha Test
- Learn more about other Sencha Test APIs
Get More Tips
Sign up now to receive the Sencha Test Tips emails. Share your feedback and questions in the Sencha Test forum.
Happy Testing!
Did you find the content helpful?
 0
0

 0
0

Latest Content

Ext JS 7.8 Has Arrived!
The Sencha team is pleased to announce the latest Ext JS version 7.8 release. Following…
May 13, 2024

React Apps Development Using ReExt with Ext JS Components
The world is moving fast towards online businesses. Businesses are established online via social media,…
May 1, 2024

How to Write Unit Tests with Sencha Test
In modern software development, unit testing has become an essential practice to ensure the quality…
April 19, 2024


