Using the Leap Motion Controller with Sencha Touch
Guest Blog Post
 In this article, I will introduce you to the Leap Motion Controller and describe how we built a Sencha Touch application to work with it.
At DecidoKompetensor, which is based in Malmö Sweden and specializes in ERP systems, we have seen that mobility is an increasingly big factor for success among our customers. We’ve enabled users of our ERP systems to perform tasks from their smartphones and tablets, and we’ve also built applications controlled by interfaces such as the new Leap Motion Controller.
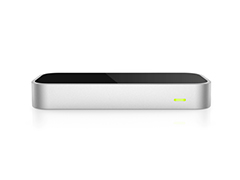
The Leap Motion Controller is a USB device that can track the movements of your hands and fingers as input without the need for physical contact. It was released in the spring of 2013 and comes with its own Airspace app store from which a number of games, explorational and utility apps can be downloaded.
Scope of our app
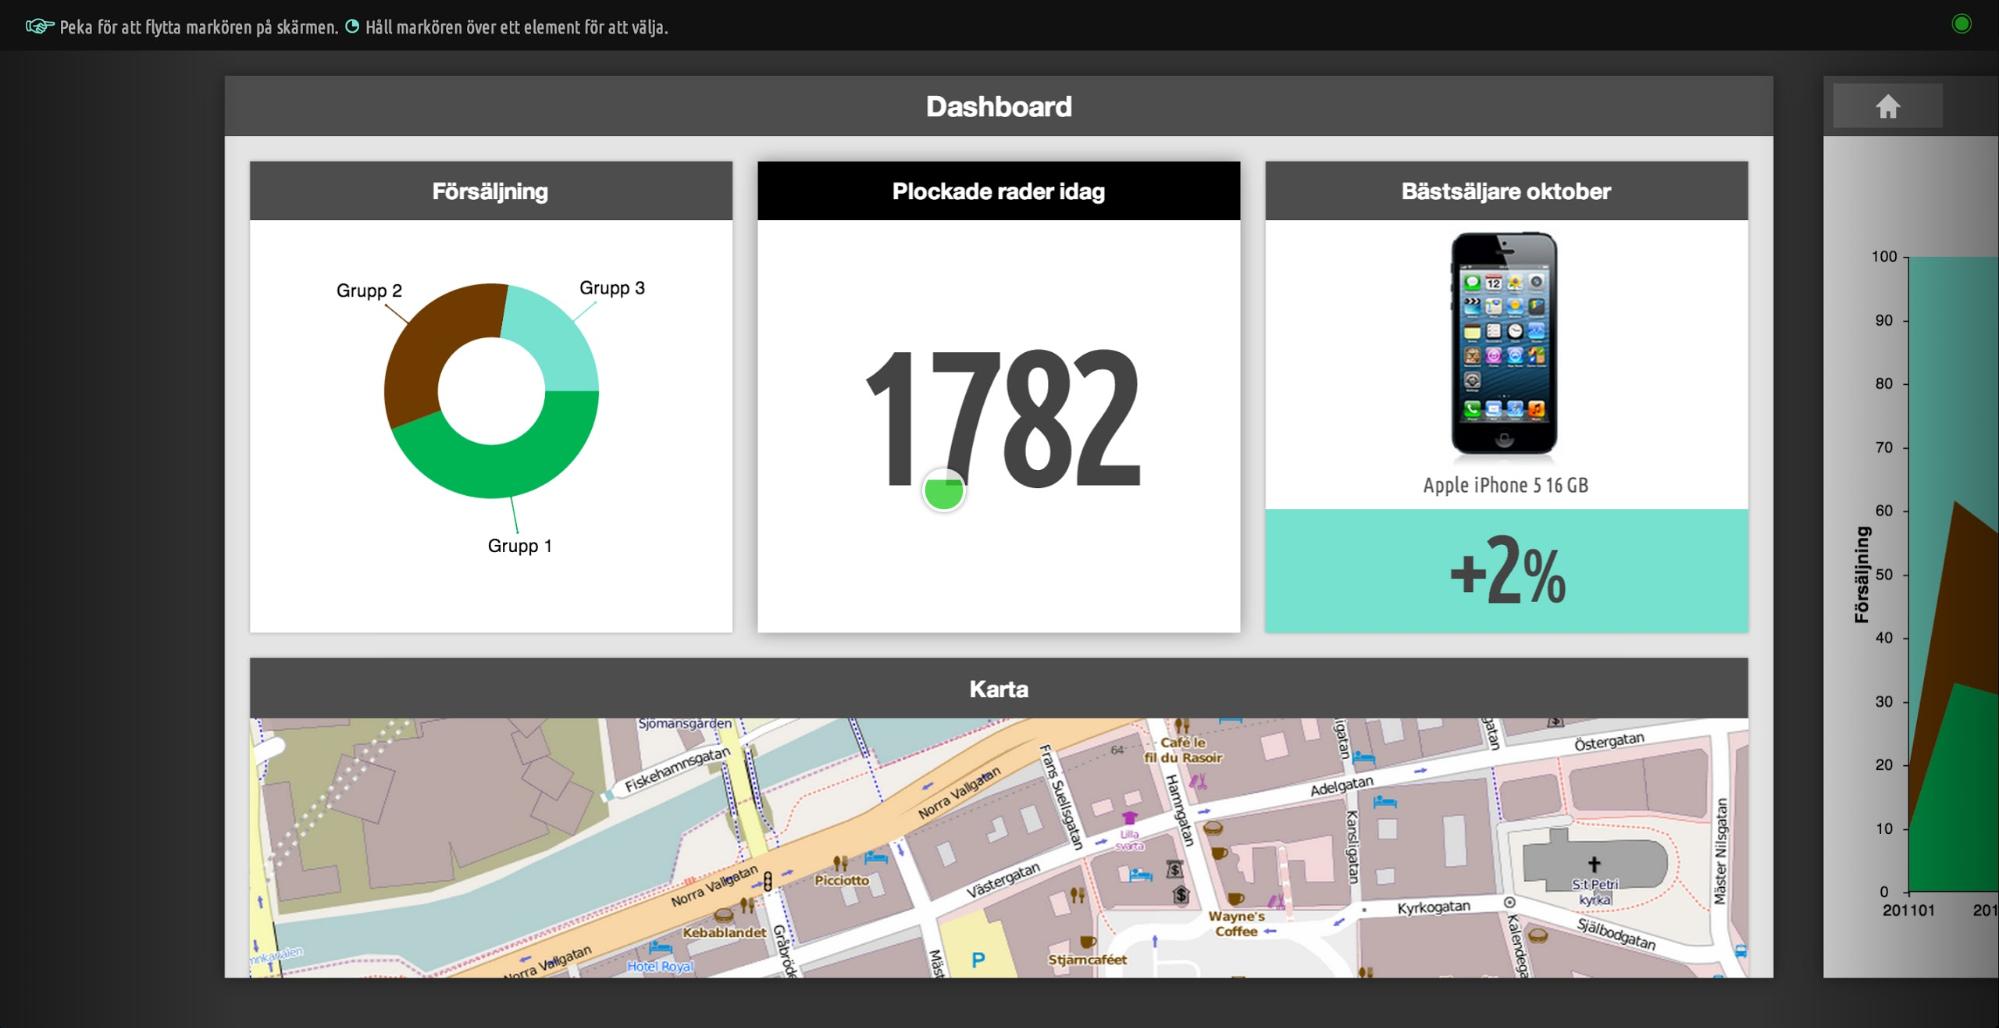
Our first app using the Leap Motion Controller is a visualizer that makes data available and browsable to workers in a warehouse. The app presents data graphically in charts and illustrations that are displayed on large TV monitors placed near the ceiling in the warehouse. The app is controlled by gestures, enabling users to interact with it from a distance.
Our app was built using the Sencha Touch framework which has a powerful data layer and great components for visualizing data.
Talking with the Leap Motion Controller
Leap.js
Once the Leap Motion software is installed on a computer, a web application can easily get data from the Leap Motion device via a web socket connection. The Leap.js library facilitates this in two ways: either listening passively receiving 60 information frames per second, or actively polling for information when it is needed. Each information frame consists of positional data of hands, fingers/tools and gestures such as swipe or circular gestures.
The Leap Cursor Library
The Leap Cursor Library (written by Ross Gerbasi, a senior developer on the Sencha Touch team) controls the virtual cursor of the Leap Motion device. It supports a large range of interaction types, and even though it is quite extensive, we decided to write our own because our application only needed one main interaction type: a virtual cursor that can fire taps/clicks.
The Virtual Cursor
We decided to build a UI where the user controls a cursor on the screen with the movements of his or her fingers. When the cursor is held over an interactive element for a short period of time, a tap/selection is made. This type of interaction was inspired by many of the Xbox Kinect games and the New York Times’ Leap Motion demo.
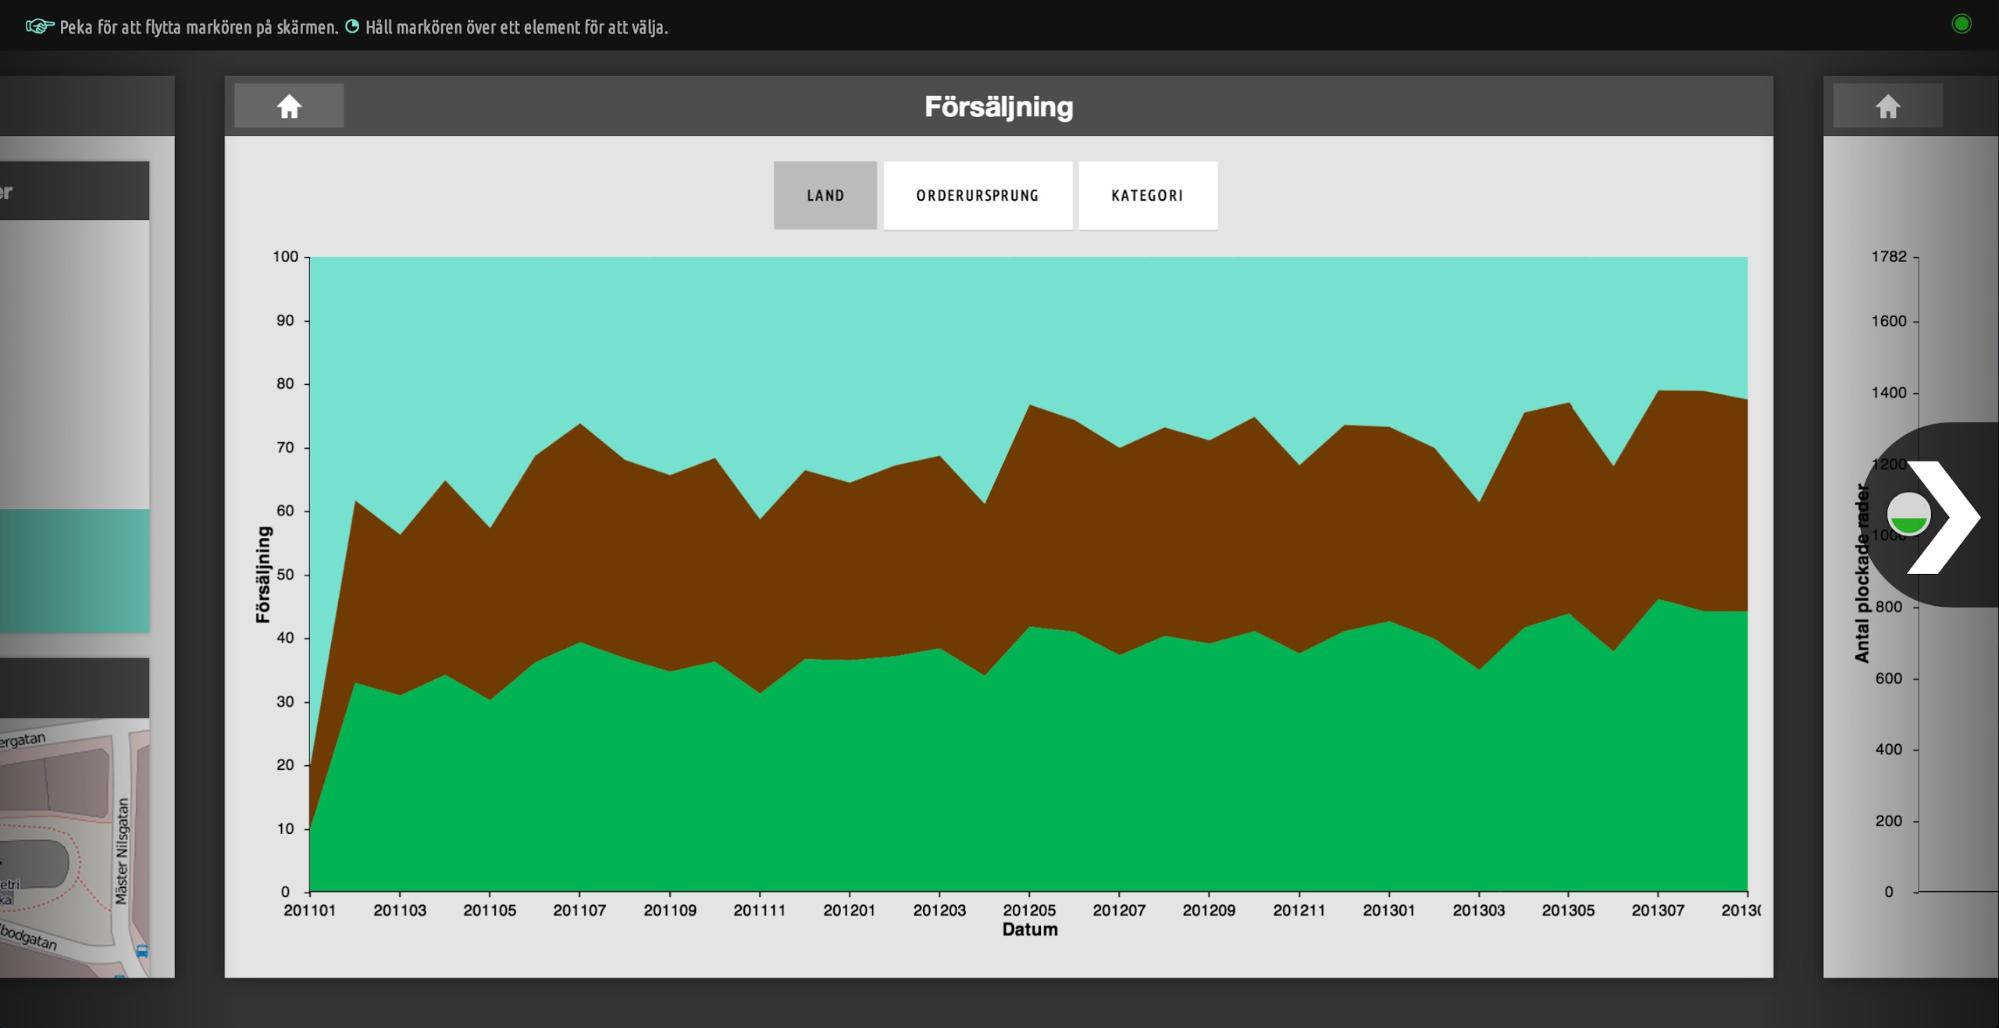
We used the Ext.carousel.Carousel component and set the carousel property to make the neighboring slides visible.
Building our Sencha Touch app
We used the Leap.js library to give the Sencha Touch application access to positional data (X and Y coordinates) of the user’s fingers. The application used those coordinates to draw a cursor on the screen giving the user the ability to interact. We used the following Sencha Touch features to create a rich, interactive experience for the user.
Ext.Carousel – the main UI
The main view consists of an Ext.carousel.Carousel component. The screenshot above is a dashboard with simple graphs and data linking to slides presenting the data in more detail. The default carousel is a full screen component, and we needed to hint to users that there was more information outside the visible area.
We made the neighboring slides visible on the screen by setting the carousel’s property:
On each side, layered over the carousel, we placed two transparent buttons. These are used for navigating to the next or previous slide, by firing:
We used Sencha Touch Charts, making it easy to populate all of the charts with data and animate them. Each chart has its own store, and to switch data in the charts when different scopes are selected in the UI, we call:
and then
This redraws the chart, now with new data, and animates the bars.
We used Sencha Touch Charts, making it easy to populate all of the charts with data and animate them.
The Leap loop
Leap.js comes with Leap.loop which acts as the applications main loop. It passes the object parameter to a function holding all information from the sensors.
function (obj) {
update cursor position
hit testing of cursor and interactive elements
dispatch click events
}
)
Inside the loop, we started by setting the position of the virtual cursor. The cursor is an Ext.Component that is absolutely positioned by setting its left and top properties from within the leap loop. The X and Y coordinates of the user’s fingertips are retrieved from the pointables array that is available in each information frame of the loop.
Hit testing
Next, we ran the coordinates through a hit testing function. We test to see If the the cursor has been placed over an interactive element such as a button. If there’s an overlap, we start a countdown of 1500 milliseconds. We also simulate a progress bar by using CSS transition and animation, so the user has time to cancel the selection before it happens.
If the timer hasn’t been stopped (by the user moving the cursor outside the element), we then simulate a mouse click by creating an event and dispatching it on the element. The code looks something like this:
mouseDownEvent.initMouseEvent(params);
element.dispatchEvent(mouseDownEvent);
Conclusion
The next step in expanding support for the Leap Motion Controller in our Sencha Touch app would be to add more interaction types to the application, such as swipe gestures for navigation, circular movements for scrolling and pinching for zooming to make it even more intuitive to use.
For a long time, we’ve relied on a mouse and keyboard as the main input devices for applications. The Leap Motion Controller is just one example of many new exciting interfaces changing the way we interact with software.

We’re excited to announce the official release of Rapid Ext JS 1.0, a revolutionary low-code…

The Sencha team is pleased to announce the availability of Sencha Architect version 4.3.6. Building…

Sencha, a leader in JavaScript developer tools for building cross-platform and enterprise web applications, is…


