Sencha.io Support in Sencha Cmd
Introduction
 Sencha.io is a backend-as-a-service, providing a set of APIs that helps developers to build and run their applications. It enables you to build web applications using services provided through our mobile JavaScript framework Sencha Touch. Sencha Cmd is a command line tool that gives you access to a lot of functionality that is helpful when building applications with Sencha Touch including, as of version 3.1, Sencha.io support.
In this article, we will highlight the Sencha.io functionality available in Sencha Cmd by walking through the process of creating an application, deploying it to the cloud, and managing its settings.
Getting Started — Hosting a Web App on Sencha.io
To begin using the system, you will need a Sencha ID (same as your Sencha forum ID). If you don’t already have one, visit the registration page to get one. You’ll also need a recent version of Sencha Cmd (version 3.1 or later). You can get a copy of Sencha Cmd for your specific OS platform from the official Sencha Cmd download page.
For information about how to develop an application using the Sencha.io SDK and Sencha Touch, please visit the Sencha.io Dashboard. You’ll find downloads and examples of how to leverage the SDK in your own applications.

The Sencha.io Dashboard allows you to create and manage cloud hosting and services for your applications. While the Dashboard interface exposes the functionalities available in the Sencha.io platform, some developer workflows that include repetitive tasks are better suited to command line tools. To support these workflows, we have added Sencha.io support to Sencha Cmd which allows you to perform many of the same functions available in the Sencha.io Dashboard from the command line. For a brief overview of how to use Sencha Cmd, take a look at the Cmd introduction guide.
Let’s start by creating an application that we can modify and configure. The following steps were executed in a command line window with access to a Sencha Cmd installation.

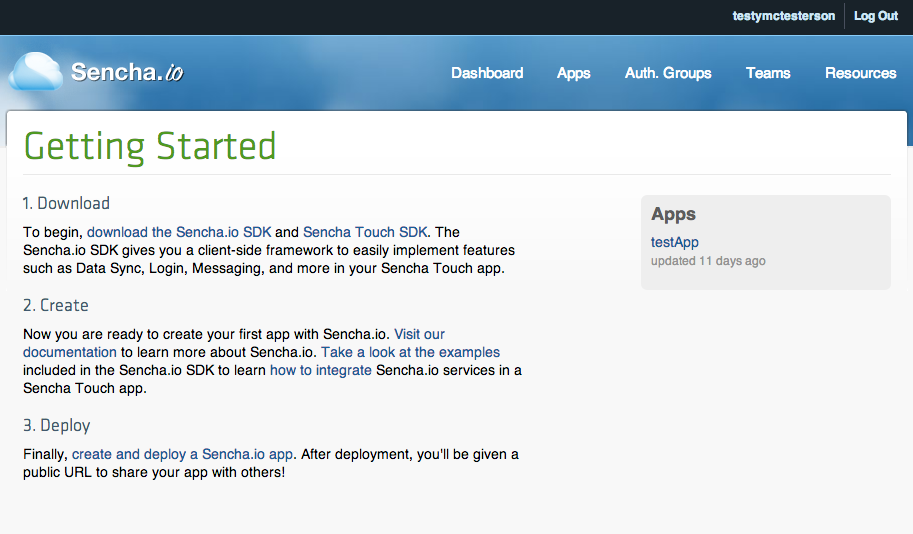
In this example, test user extraordinaire Testy McTesterson is creating an app, called testApp. From the Sencha.io service response, you can see that the above service request was successful and a unique AppId and AppSecret has been created for this application to use. Since these values will be used in the client framework SDK to identify your application with the Sencha.io service, you may want to record them for future use. However, if you ever need them again, you can get them from the Sencha.io Dashboard or by using the Sencha.io list-apps command:

When applications are deployed on Sencha.io, cloud hosting is automatically allocated for that app on Senchafy (Sencha.io’s hosting service) and that app becomes available on the Internet at a unique Senchafy subdomain URL. You can see from the previous example that the output of the list-apps command includes the AppId and AppSecret, as well as this unique Senchafy URL for this specific app. Additionally, you can also register a CNAME for your app to use and assign it through the Sencha.io Dashboard.
Now that cloud hosting has been allocated for our app, we can create a version of that app and upload it to the cloud. Here, our test developer has prepared a small app that he wants to upload, in a zip file named app.zip, and use Cmd to upload it as version 1.0 of his app.

Even though we’ve successfully uploaded the application to the cloud, it must then be deployed in order to be accessible through its Senchafy URL. The deployment service allows you to keep multiple versions of your app stored in the system, and lets you switch between them as you see fit by deploying the appropriate app version. We will now execute the following command to deploy version 1.0 of our app that we just uploaded:

Now the test app will be accessible through its Senchafy URL and is now published in the cloud. Just to confirm that the application has been unpacked and deployed correctly, we can use the Sencha.io io-fs command to query and modify the file system of the remote application. To confirm that our index.html file inside app.zip has made it’s way to the remote cloud file system, we can list all the files available:

The above results confirm that the zip file containing index.html was successfully uploaded and added to the currently deployed app version. If you want to modify the contents of the currently deployed app version, you can use the Sencha.io rm and put commands to remove existing files and add new ones to the remote file system.

Configuring Authentication in Sencha.io
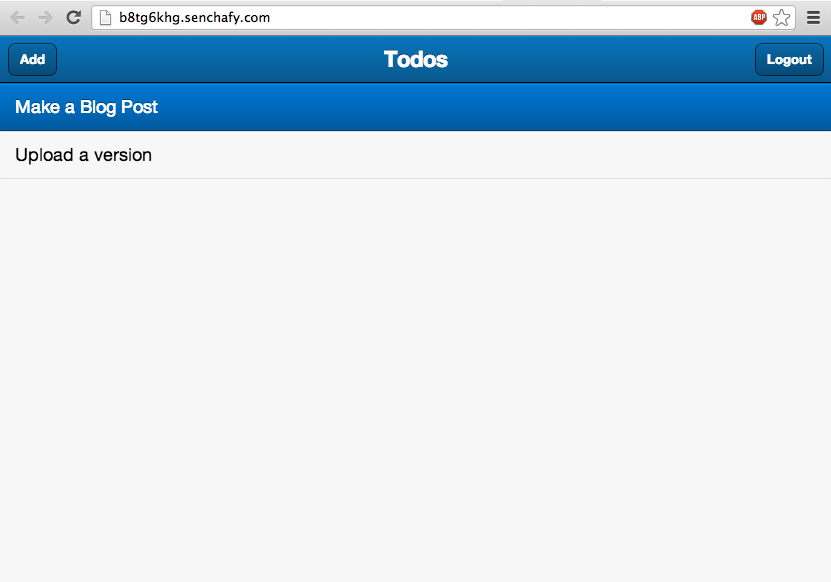
One of the key features of Sencha.io is the user and authentication model. Users can log into the system either through an application specific username (email address) and password, or through their Facebook or Twitter accounts. Exactly which types of login are enabled for your application can be configured using the Authentication Groups settings for your application. You can see a really good illustration of this concept in the Sencha.io Todo App example from the Sencha blog; I’ve updated the code to work with the current version of Sencha.io, and I hosted it as the test application from the previous section.
To use Sencha.io Authentication Groups and User model, you first need to create an Authentication Group. Here our test developer is creating an auth group for the workers in his company:

When an auth group is created, by default, it is enabled to use Sencha.io-based authentication (i.e, application specific username/email & password). We can use Sencha Cmd to associate the Workers auth group that we just created with the test app we created earlier:

Now, we can specify the login mechanisms for the app. For example, if we want to enable Facebook auth for testApp, we can do so from Sencha Cmd as well.

The developer needs to supply the application key and secret values for Facebook along with the above command, and the auth group will be updated. Now, any app which has the Workers auth group associated with it will accept Facebook logins, and any app built with the Controller from the client framework will automatically adjust its UI to this new auth group configuration.
Summary
Sencha Cmd allows you to perform a wide variety of tasks, including managing how an application is configured and hosted in Sencha.io. As the Sencha.io platform grows and more services and configuration options are added to it, we will continue to add equivalent features to Sencha Cmd, so developers can automate their workflows and test effectively. Let us know if you have any ideas for Cmd integration that will make your life easier and join the discussion on the Sencha.io forum!

We’re excited to announce the official release of Rapid Ext JS 1.0, a revolutionary low-code…

The Sencha team is pleased to announce the availability of Sencha Architect version 4.3.6. Building…

Sencha, a leader in JavaScript developer tools for building cross-platform and enterprise web applications, is…


