


Top Support Tips: June 2013
June 3, 2013
158 Views
Check for Sencha Cmd Updates
Sencha Cmd moves very quickly. Sometimes it can be difficult to know if you are as up to date as possible. Luckily, Cmd now includes an awesome new feature. By executing the following command, you can check to see if you have the most recent GA.
sencha upgrade --check
Oh, you like living on the edge? You can find the most recent beta version with this handy snippet.
sencha upgrade --check --beta
Check out the docs.
One Store to Rule Them All
When building an app with Ext JS, conventionally, you give your store a storeId, which can then be shared via multiple components. However, if Grid A and Grid B share a store, and you filter the store, both grids will now present filtered data. What if you don’t want all of your components to be modified when the store changes? Have no fear!
When you define the store, you can give it an alias of ‘store.storealias’ (where storealias is your chosen alias name).
For example:
	Ext.define('MyApp.store.MyStore', {

	    extend: 'Ext.data.Store',

	    storeId: 'MyStore',

	    alias: 'store.mystore',

	    fields: ['foo', 'bar']
	});
Now, when you attach your store to your component, you’re actually attaching a new instance of the store and your components can remain separate.
	store: {

	    type: 'mystore'

	}
Android’s Got Your Back
If you want to use Android’s hardware back button, you will need to make some special concessions in your application. The back button consumes the browser’s window.history. Since most applications are single “pages”, the back button is ineffective in a Touch application since history is only populated with the app’s index page.
The best way to properly utilize the back button is to take advantage of the Sencha Touch routing system, which allows for deep linking. This works because routing will populate the browser’s history and allow for application navigation via the back button.
To take this a step further, you can manually manage window.history by pushing and popping views to and from the history object. This allows Android’s back button to function as you switch views in your application.
Did you find the content helpful?
 0
0

 0
0

Latest Content

Introducing Rapid Ext JS: The Ultimate Low-Code Editor for Ext JS Development
We’re excited to announce the official release of Rapid Ext JS 1.0, a revolutionary low-code…
August 21, 2024
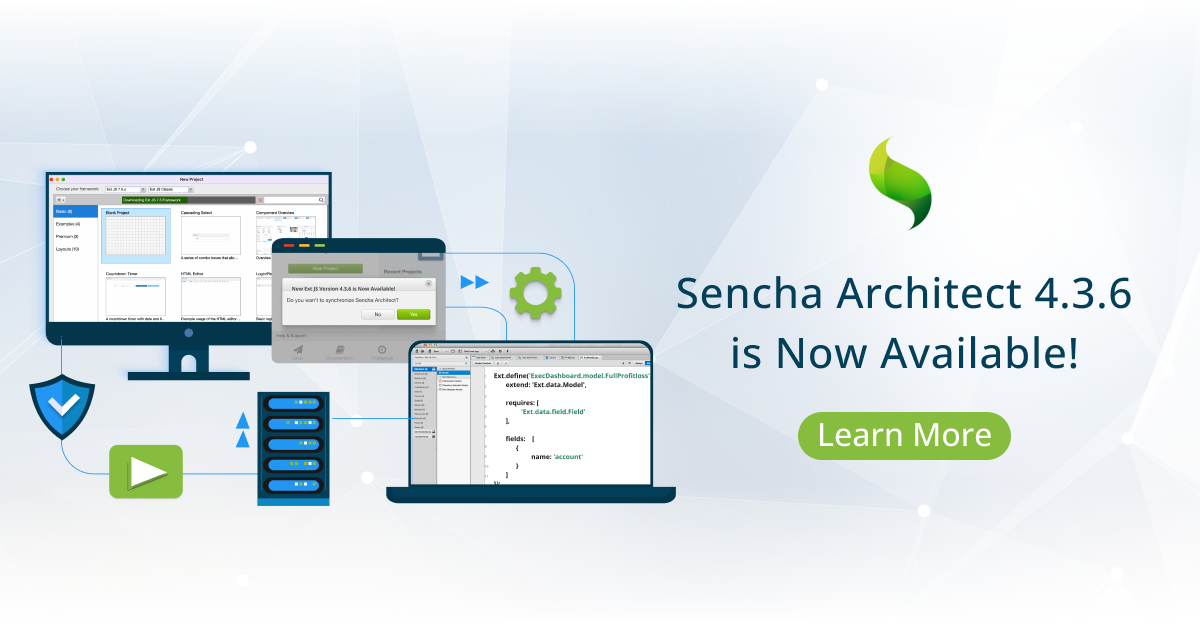
Sencha Architect 4.3.6 Has Arrived!
The Sencha team is pleased to announce the availability of Sencha Architect version 4.3.6. Building…
August 20, 2024

Introducing ReExt: A Game-Changer for React Developers
Sencha, a leader in JavaScript developer tools for building cross-platform and enterprise web applications, is…
August 20, 2024


