


How to Create a Dark Ext JS Theme
– Part 1
July 16, 2015
145 Views
Introduction
Every now and then, I demo my Spotifinder Ext JS app. It’s a really cool app that connects to LastFm and Spotify. I created it, to demo Ext JS concepts in my training classes. It also shows off the great theming capabilities in Ext JS.
This year, I presented advanced theming at SenchaCon and I received lots of questions about how I created the Spotifinder app theme. So I decided to write a tutorial on how to create a really cool, good looking dark theme.
You can use this tutorial to help you build your theme for the Sencha Application Theming Contest.
The first prize winner gets $2,500!
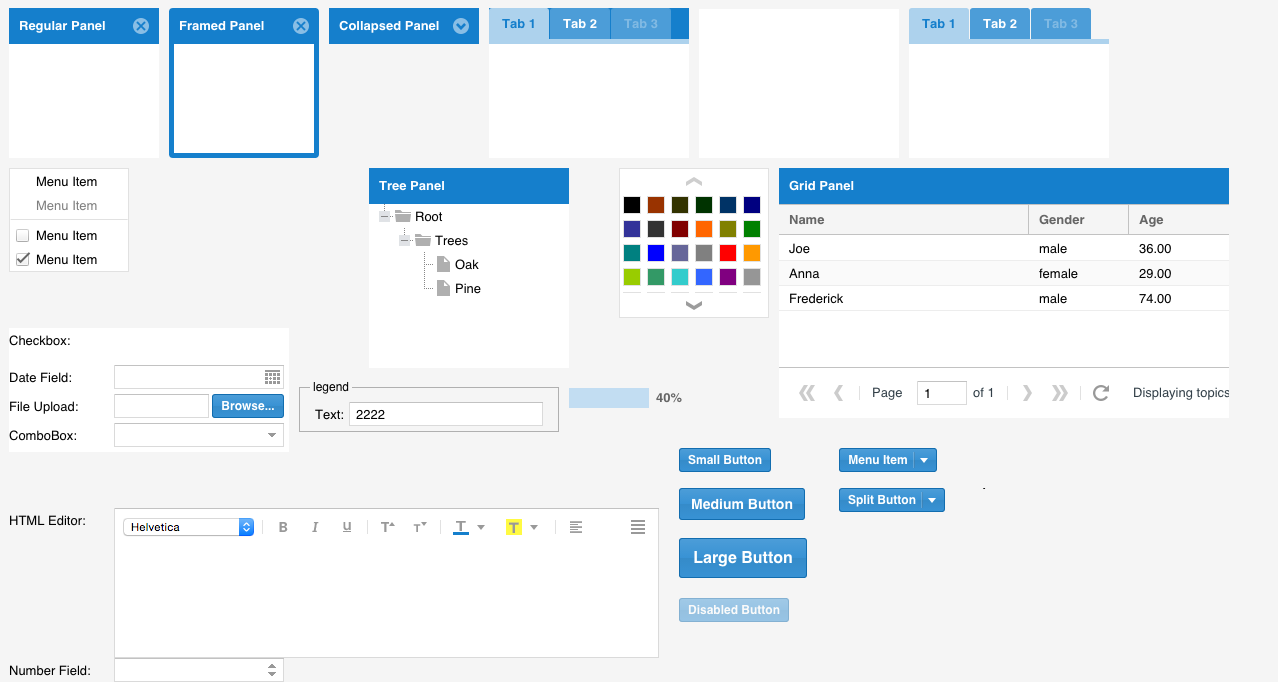
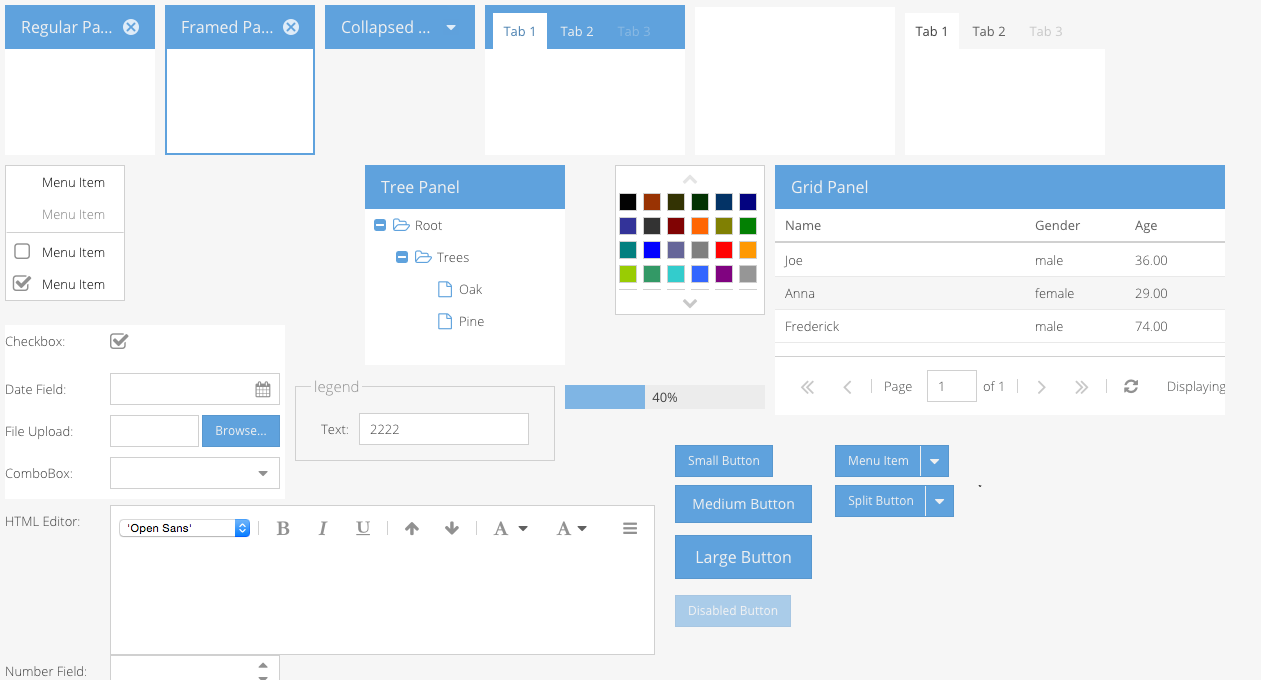
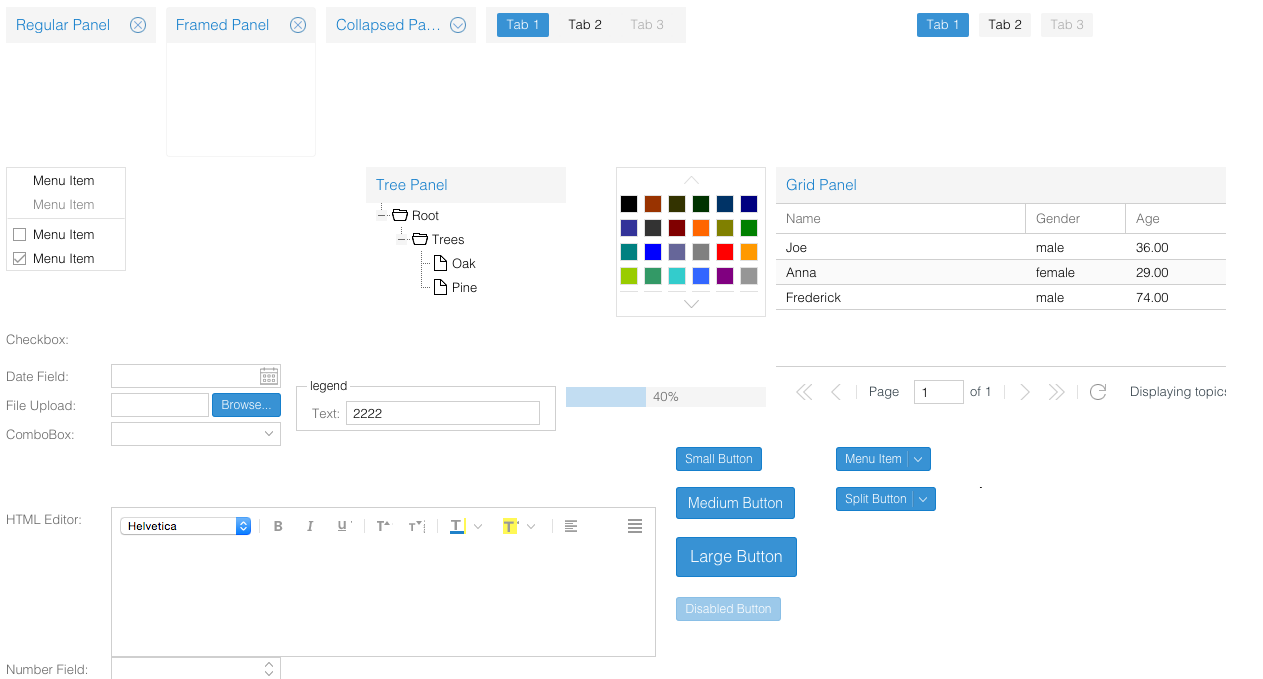
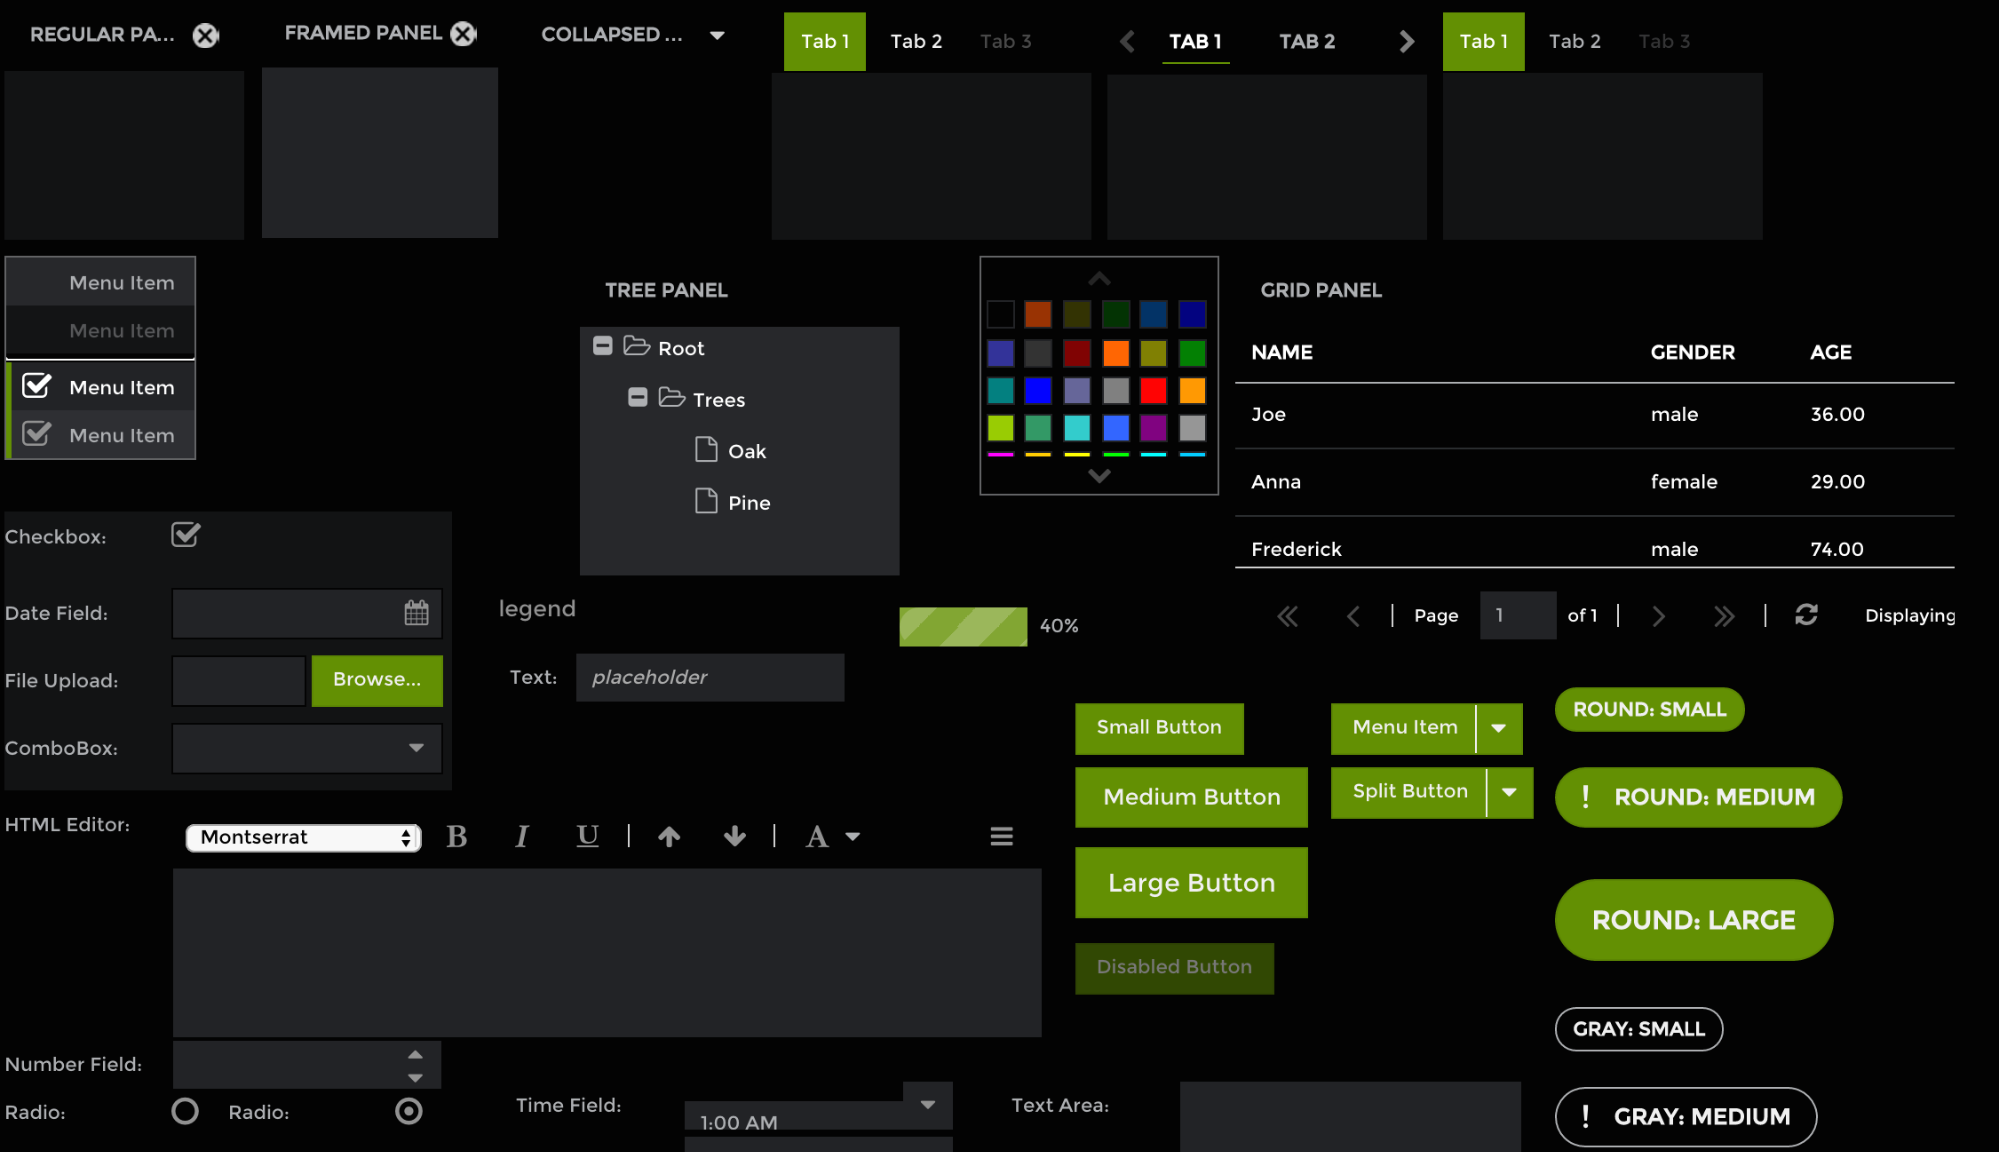
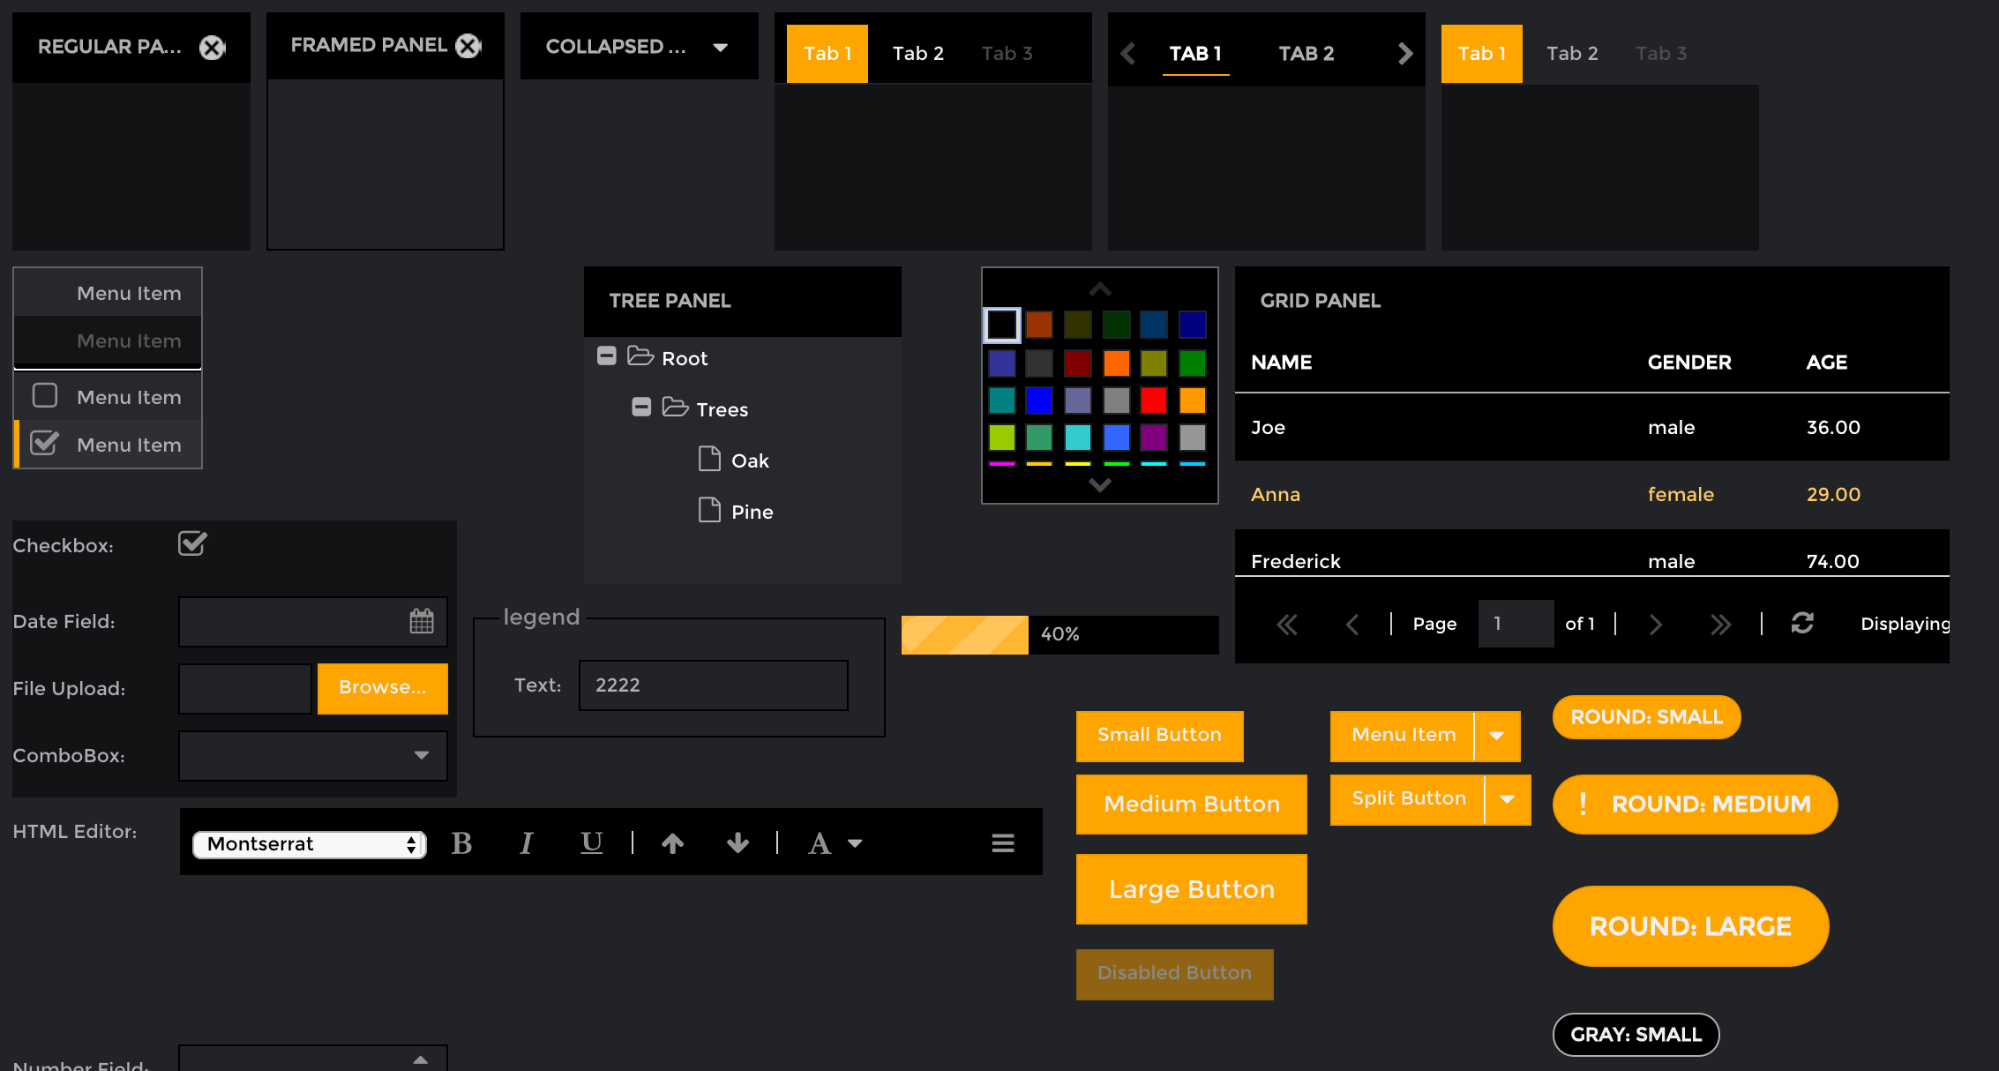
The tutorial files I used for this tutorial can be found here. It’s basically just a simple Ext JS app (view) with many components, like a grid, and some other components. You can use any other Ext JS (4, 5 or 6) application as well, but I used this as a reference point, and I used Ext JS 6. What’s great about theming an “all-component” -app, is that you see on the fly how your new theme looks like, without clicking through a real-life app.
Another prerequisite: Sencha Cmd needs to run on your command line. Test with this command: sencha which. It should output a version number – for Ext JS 6, the Cmd version should be 6.x.
Ext JS themes use Sass, which stands for syntactically awesome stylesheets, and yes, it’s indeed awesome. Its a more dynamic way to write CSS code. For example, you can use variables and calculations in your stylesheets. A browser doesn’t understand Sass, only CSS. Therefore, these Sass themes need to be compiled to production-ready CSS code, so your browser can understand it. The compilation process of themes in Ext JS apps runs via Sencha Cmd.
Ext JS ships with a couple of out-of-the-box themes. You can directly switch to one of these themes and use it, or you can extend one of them and modify it. That’s how you create custom themes. The best theme to modify is Neptune or the new Triton. It provides lots of variables you can use to change the look and feel, and because it’s color background and white text on the front, it’s the ideal theme to use to create good looking dark themes. Alright, enough theory, let’s try it out.
We’ll start by generating a new theme. We’ll just generate a theme package, so you can reuse it in other projects.
Open Sencha Cmd and run the following command:
sencha generate theme theme-spotifext
This will generate a theme package, in my workspace packages/local folder. It will contain a sass/var folder, which will contain a Sass stylesheet with variables. It will be first in the compile order), and it will also contain a sass/src folder, which is the folder that contains Sass stylesheets with mixins and CSS rules. These files will be compiled last, so the pre-defined variables are used. The theme package also contains a resources folder – it can be handy to save assets such as images or fonts in this folder. The package will also contain a package.json file. It has meta info for your theme package. For example, it sets the type of the package to a “theme”. Also, you can write your contact information and description. There is one thing here that you’ll need to change. To create a theme variant of the new Triton theme, change the extend line to:
"extend": "theme-triton",
Note that themes in Ext JS 6 don’t have the "ext-" prefix anymore.
Now, to see your variant of the Triton theme in the theming demo app, you need to wire it up the correct way.
Switching Themes
I mentioned “the correct way” on purpose because in traditional web design you would change stylesheets by opening the index.html page and swapping the ‹style› tags. It doesn’t work like this in Ext JS applications – you swap your themes via the app.json file. What’s happening here is that the Ext JS microloader loads the correct stylesheet for you, via the bootstrap.css file, which is included in your index.html. The bootstrap.css points to a CSS build version of your Sass theme. This way of serving themes has a huge advantage; all your paths to images and fonts will be all the same across any environment: development, test, or production.
You can wire up your new Spotifext theme by opening app.json of the demo app and changing the "theme" line to:
"theme": "theme-spotifext"
The next step is to build your application with sencha app build or sencha app build development (which only builds the theme instead of the full app), and you’re good to go.
In case you’re running a universal app and you want to use the Spotifext theme for the classic toolkit, you should wire up the theme to a build profile. For example:
"builds": {
   "myclassicprofile": {
      "toolkit": "classic",
       "theme": "theme-spotifext"
    },

   "mymodernprofile": {
      "toolkit": "modern",
      "theme": "theme-cupertino"
   }
 },
Variables
The first thing you’ll need to do is create some files. You can create the following file structure, in your package folder (packages/local/theme-spotifext):
sass/var/_config.scss
sass/var/Component.scss
sass/var/button/Button.scss
sass/var/form/field/Base.scss
sass/var/grid/Panel.scss
sass/var/tab/Panel.scss
Notice the naming of the files. Everything, except _config.scss, maps to the framework components. Component.scss – > Ext.Component, and grid/Panel.scss to Ext.grid.Panel.scss. This mapping is set up in the app.json file as a sass namespace. You don’t need to change that.
An important feature of Sass is the ability to define variables. Do you remember when you used to use plain old CSS? You coded a full stylesheet and by the end of the week someone in your company wanted you to change one of the application colors. It was a huge problem because you had to find and replace all those color values, including all the color codes with lighter or darker contrasts.
With Sass, this is not a big deal anymore. You just define a variable at the top of your file. Later in your CSS rules, you point to those pre-defined variables. Because a Sass stylesheet is compiled, it makes your stylesheet a lot more dynamic.
Try this out. In the Component.scss file, you will include your own color configuration sheet (that’s the _config.scss file). Just write the following line at the top of var/Component.scss:
@import ‘_config.scss’;
Now in the _config.scss file, define a couple of vars which you can use though the full stylesheet. You can define these variables at the top of the file:
//my own variables
$dark-bg: #000;
$dark-bg2: #121314;
$dark-bg3: #222326;
$dark-bg4: darken(#88898C, 15%);

$front-color: #adafb2;
$front-color2: #fff;

$highlight-color: $base-color;
$highlight-color2: lighten($highlight-color, 20%);
$highlight-color3: darken($highlight-color, 20%);

$font-family: 'Montserrat', helvetica , arial , verdana , sans-serif;
$font-size: 12px;
Note the $highlight-color2 and 3, these use built-in Sass functions to change the highlight-color to a 20% lighter or darker tone of the color.
We understand that Sass variables are an extremely important feature of Sass, so Ext JS uses Sass variables as well. There are actually two types of variables: Global variables and Component variables.
Global Variables
The first variable you’ll set is the $base-color – it’s a global Ext JS Sass variable. When you change this variable, it will affect everything in the global scope. Many other colors will be calculated based on the $base-color.
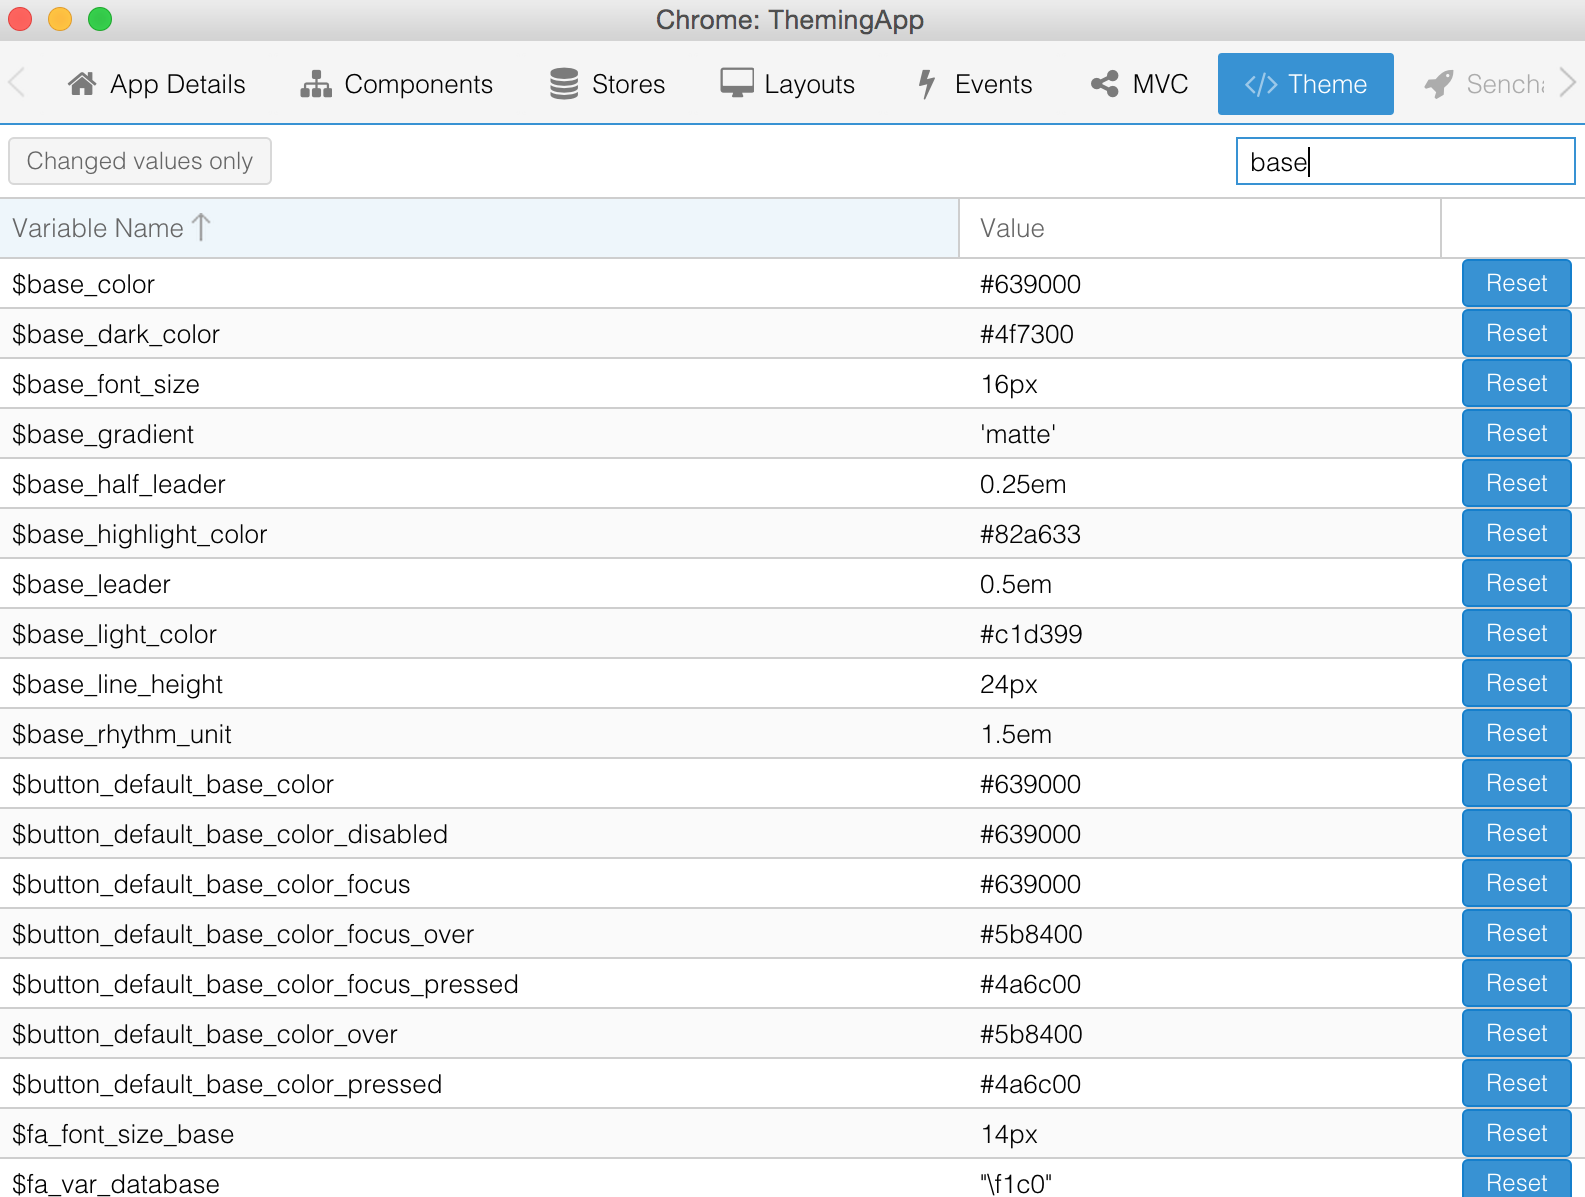
You can find all the Global variables in the API docs by searching for Global_CSS. Or, even better, you can use Sencha App Inspector – see below for more information.
For your theme, you can use these global vars and put them in var/Component.scss:
$base-color: #639000;

$body-background-color: $dark-bg3;
$color: $front-color;
$enable-font-smoothing: true;
Component Variables
Inside Component.scss, I have set a bunch of component variables too. Take a look at my files in the packages/local/theme-spotifext/sass/var/ folder in Git.
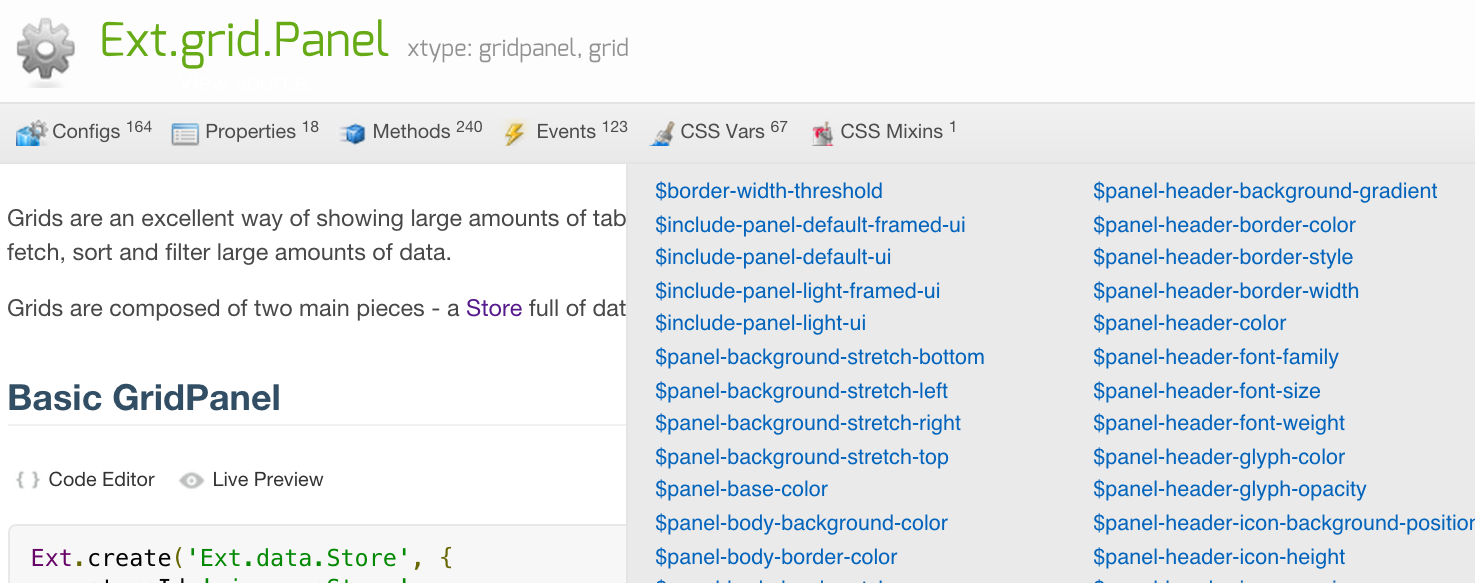
I moved some of these component variables to their own scss file, as I did for grid/Panel.scss. That’s just so I can maintain smaller files. By using variables, you’ll notice that I styled about 80% of my application, and I don’t have any problems with CSS overrides. You can find Component Sass variables in the API docs for the component you want to style. For example, search for grids and then click on the CSS vars button. There are a lot of variables to choose from. Before Ext JS 6, you had to use trial and error. But, with Ext JS 6 and App Inspector, it’s a piece of cake to figure out which variable you should use.
Sencha Inspector
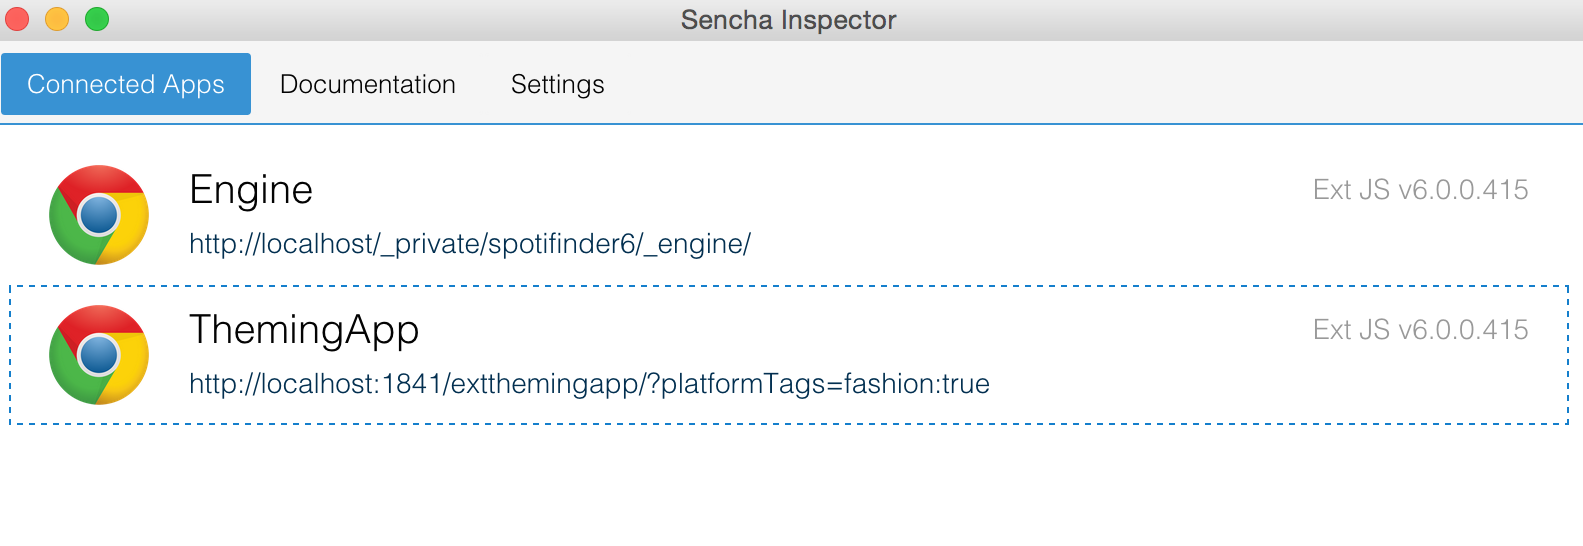
Sencha Inspector is a new stand-alone tool. With this tool, you’re able to inspect your Ext JS code, including your MVVM patterns. You can inspect applications, running in any browser or device, even apps that are running in Sencha Web Application Manager.
Not only are you able to inspect your JavaScript code, you can inspect all your Ext JS Sass variables. Together with Fashion, the new way of compiling Ext JS Styleheets, this is super powerful.
For this tutorial, you can try out the awesome theming feature. Download Sencha Inspector Early Access version.
When you search for an Ext JS 6 component in the theme panel, it will expose all the available Sass variables. This will save you from manually browsing through all the docs.
With Fashion (read more below), you can enter values for all these variables, and you’ll see the result immediately on your screen. This is great for testing when you don’t know which Sass variable you need to use. Because you no longer need to wait for app builds or theme compilations, this really speeds up your theme development time. I work with my IDE and Inspector on one screen, and my application running in a browser on another monitor. As soon as I find the right Sass variable with Sencha Inspector, I copy it over to my theme package.
Take a moment and browse through the sass/var code in my package on Github. Within a couple of hours, I finished 80% of my theme.
To get this up and running, you’ll need to have Inspector installed along with Sencha Cmd.
See the docs.
Within Sencha Cmd, you’ll run the built-in webserver (it’s a Jetty web server).
Open Sencha Cmd and run the following command:
sencha app watch
After sencha app watch starts the web server (by default it’s on port 1841), Sencha Cmd polls for changes. Next, open the following URL in your browser:
http://localhost:1841/extthemingapp/?platformTags=fashion:true
Once the app is loaded and finishes compiling the theme for the first time, you’ll have to copy and paste the following bookmarklet in your browser console to create a connection between App Inspector and your app.
javascript:!function(a,b){var a=a||3e3,b=b||"http://localhost",c=b+":"+a+"/inspector.js",d=function(a,c){var d=document.createElement("script");d.type="text/javascript",d.src=a,document.addEventListener("load",function(){"undefined"!=typeof Ext&&"undefined"!=typeof Ext.onReady&&Ext.onReady(function(){if(window.SenchaInspector){var a=document.head.getAttribute("data-senchainspectorport");SenchaInspector.init(b+":"+a)}})},!0),c?document.head.insertBefore(d,document.head.firstChild):document.body.appendChild(d)};document.head.setAttribute("data-senchainspectorport",a),d(c,!0)}();
If you’re interested in what’s going on under the hood, App Inspector uses WebSockets. The App inspector script is running on port 3000. That’s how the standalone app can inspect your application code. Now, we’ll look at compiling the themes.
Fashion
I mentioned the word Fashion above. And no, I am not talking about the latest style of clothing. This is a new way of compiling themes that is built into Sencha Cmd.
To compile a theme in Ext JS, you use Sencha Cmd and run either:
sencha app build [development]
or
sencha app watch [toolkit]
The difference here is that watch is polling for changes, and compiles on the fly, while sencha app build only compiles manually once.
In older versions of Ext JS and Sencha Touch, the Sass stylesheets were compiled on top of Ruby (on Windows, you had to install Ruby with administrator rights). Once everything was set up, you could start compiling the themes, but that compilation took a lot of time – especially when you had a large codebase and an advanced theme. You can see why I am so happy about Fashion.
With Fashion, you can compile your themes on top of JavaScript. It’s so fast that when I change a line of code on my left monitor, it’s already changed on the right monitor before I can turn my head. I don’t need to wait for the compilation (except when starting the server), and I don’t need to refresh my browser window.
The magic all happens under the hood. Sencha Cmd is running PhantomJS in the background, which is basically a headless browser that you can run from the command line. It will run your application, compile the theme, and put it all into one big JavaScript function. Every change you make – whether it’s in your IDE/editor, in the classic or modern toolkit, or with Sencha Inspector – is handled by JavaScript which changes the styling in the DOM. There are many more advantages. For example you can extend on top of Fashion and create your own styling functions (like Sass functions), and you can debug your stylesheet code. You can see these the big advantages on your development machine while you’re designing your theme.
To get this up and running, you’ll need to run sencha app watch classic from your command line and run the following arguments in your URL: ?platformTags=fashion:true and then you are good to go:
http://localhost:1841/extthemingapp/?platformTags=fashion:true
Coming Up
There are a few more things I did in my spotifext theme to make it look awesome. I wrote some CSS rules to animate the button hovers, used custom fonts, and created my own button and tab panel variants to make it look unique.
In part 2 of this article, I will explain mixins versus css overrides as well as fonts and icons.
With this information, you should be able to create good looking themes.
Sign up for the Sencha Application Theming Contest. The first prize winner gets $2,500!
Resources:
Sencha Theming Guide
My SenchaCon Presentation
Download Sencha App Inspector Early Access
Tutorial demo files
How to Create a Dark Ext JS Theme – Part 2
Did you find the content helpful?
 0
0

 0
0

Latest Content

Introducing Rapid Ext JS: The Ultimate Low-Code Editor for Ext JS Development
We’re excited to announce the official release of Rapid Ext JS 1.0, a revolutionary low-code…
August 21, 2024
Sencha Architect 4.3.6 Has Arrived!
The Sencha team is pleased to announce the availability of Sencha Architect version 4.3.6. Building…
August 20, 2024

Introducing ReExt: A Game-Changer for React Developers
Sencha, a leader in JavaScript developer tools for building cross-platform and enterprise web applications, is…
August 20, 2024


